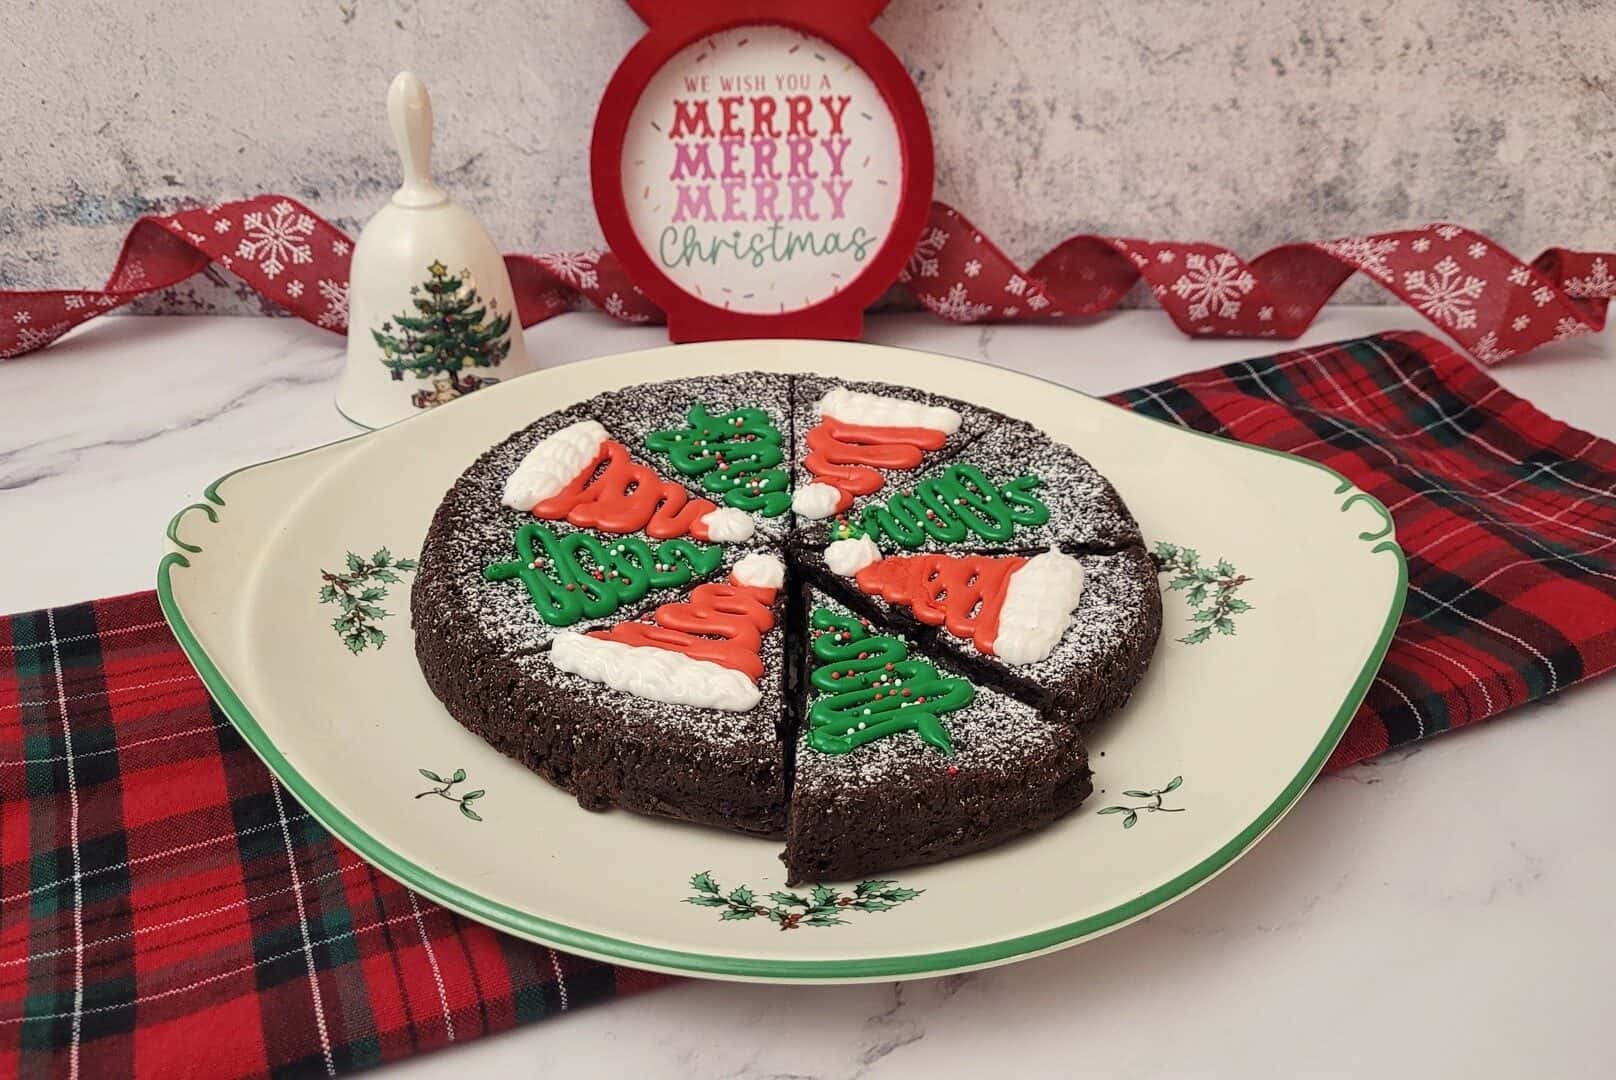
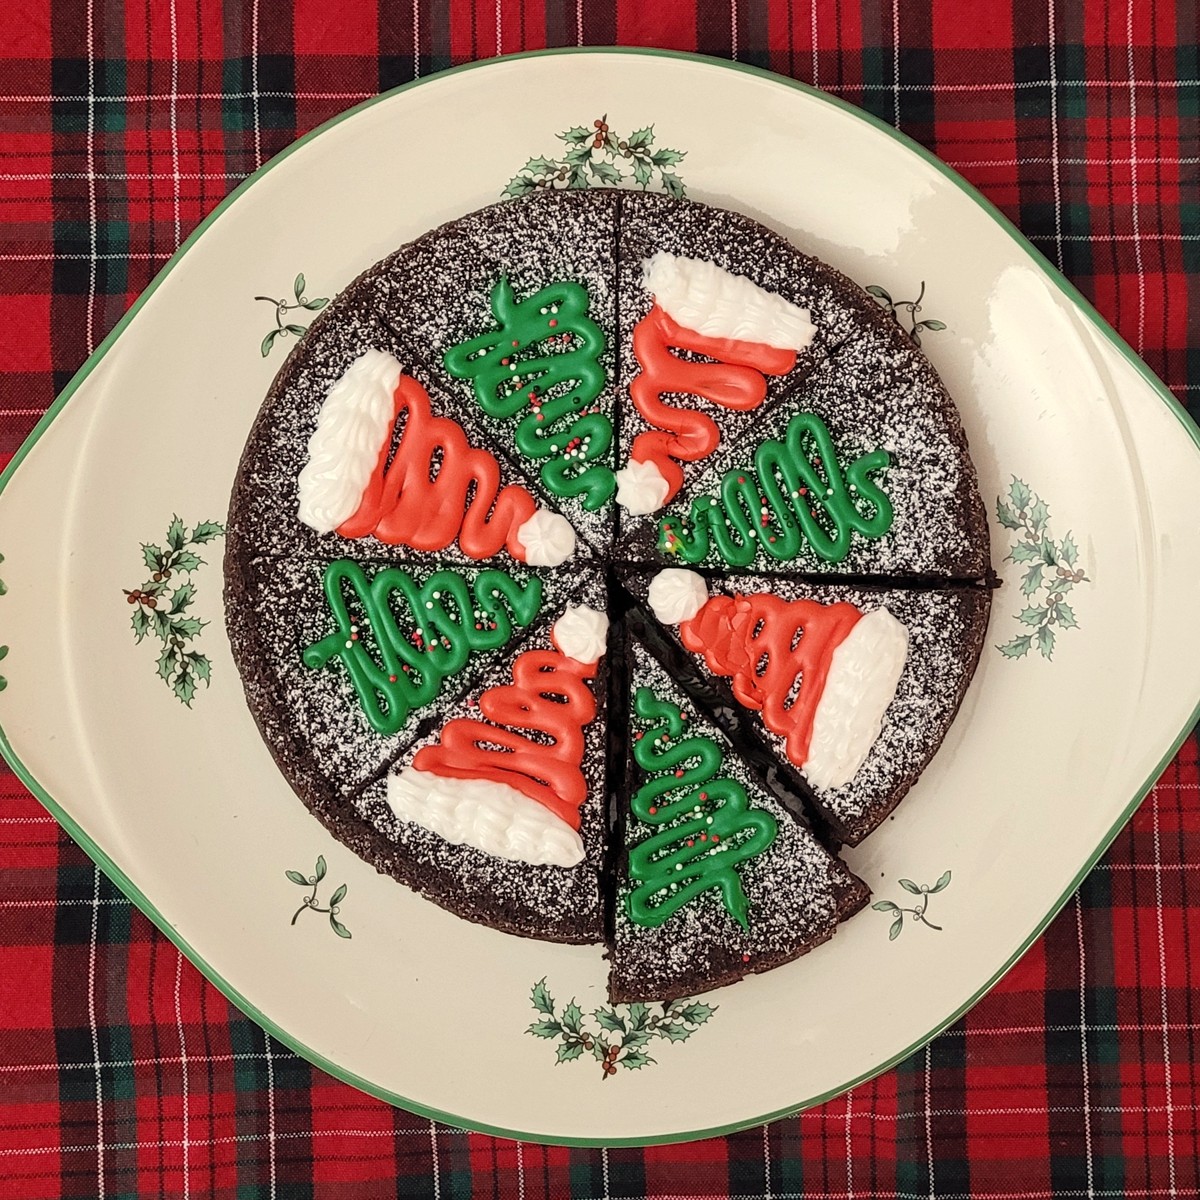
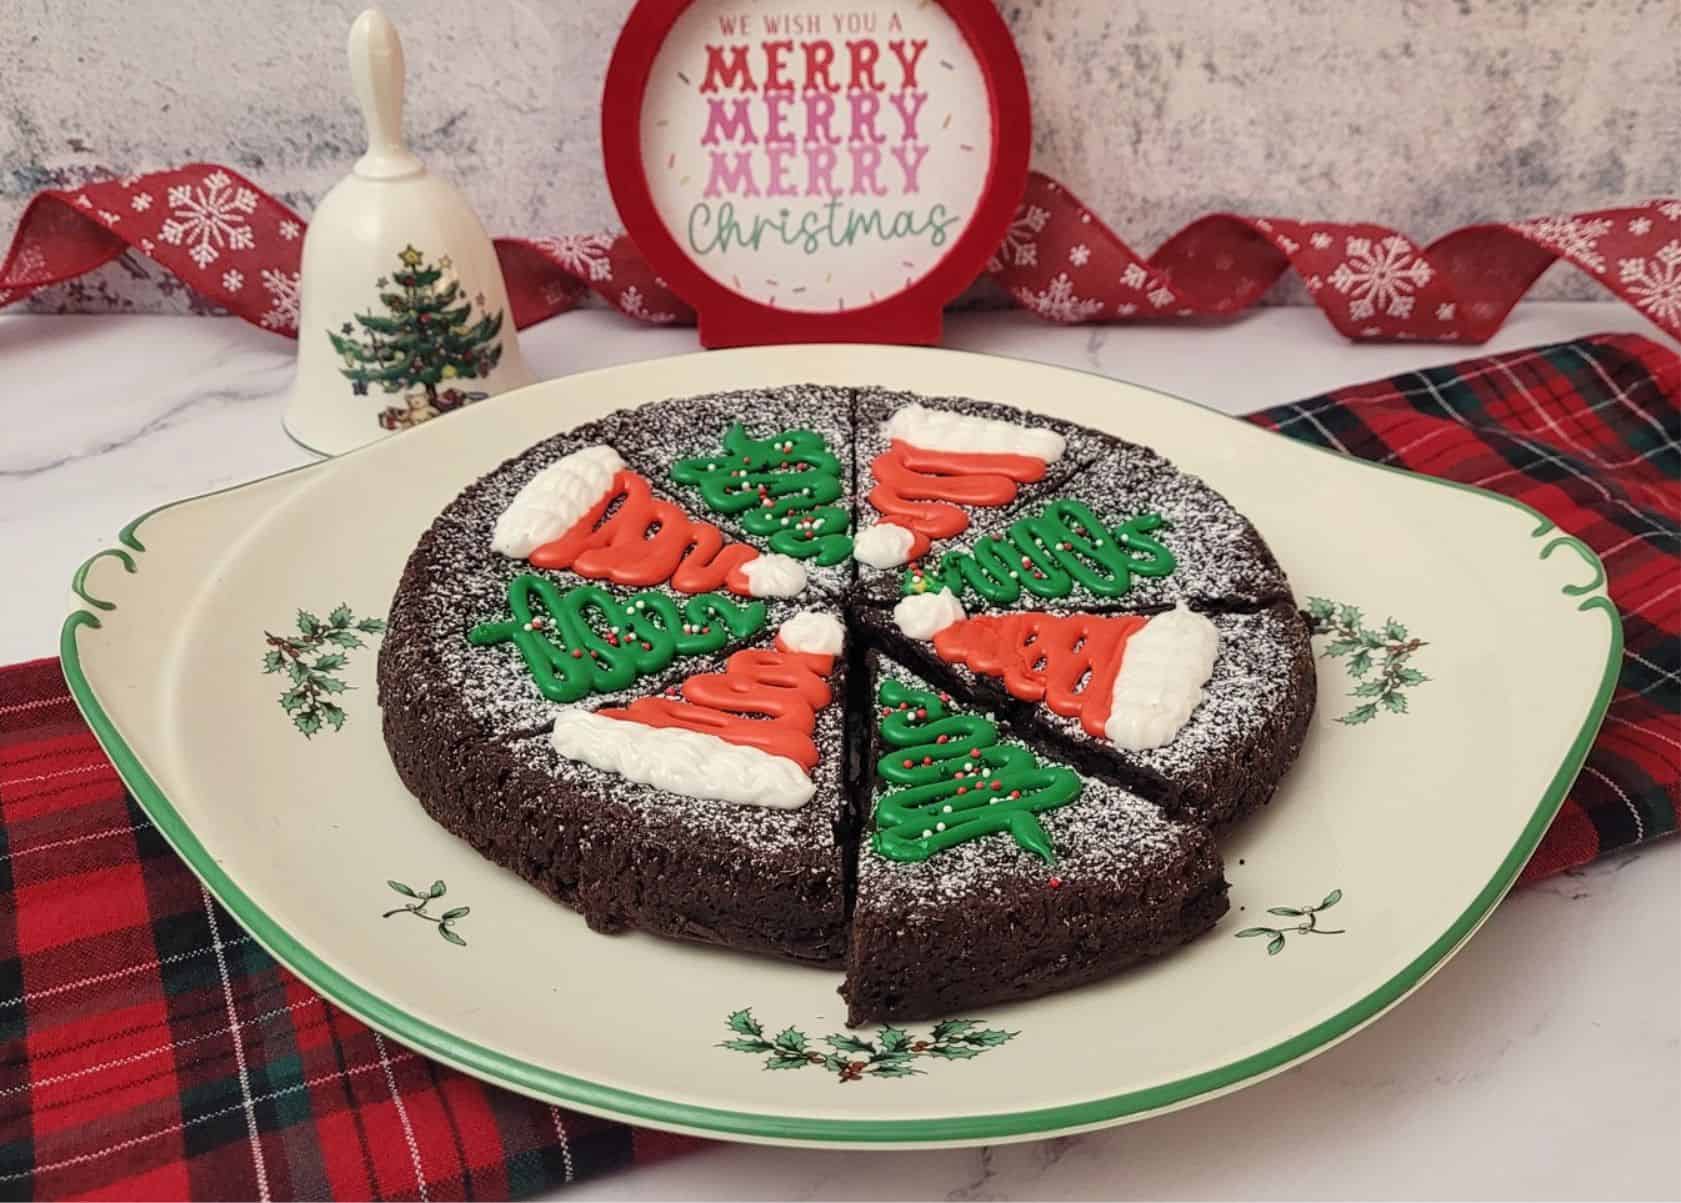
Indulge in the spirit of the season with this Flourless Christmas Cake, a true centerpiece for your holiday celebrations. It's loaded with rich, chocolaty goodness that melts in your mouth with every bite. Whether you’re hosting a big party or enjoying a cozy night at home, this cake is guaranteed to bring a little extra joy to the season.
This post may contain affiliate links. Please refer to the terms page for more information.
This gluten-free Christmas cake is a great option for people with gluten sensitivities or those following a gluten-free diet, allowing everyone to enjoy a slice during holiday gatherings.
Ingredients
Flourless Christmas cake ingredients
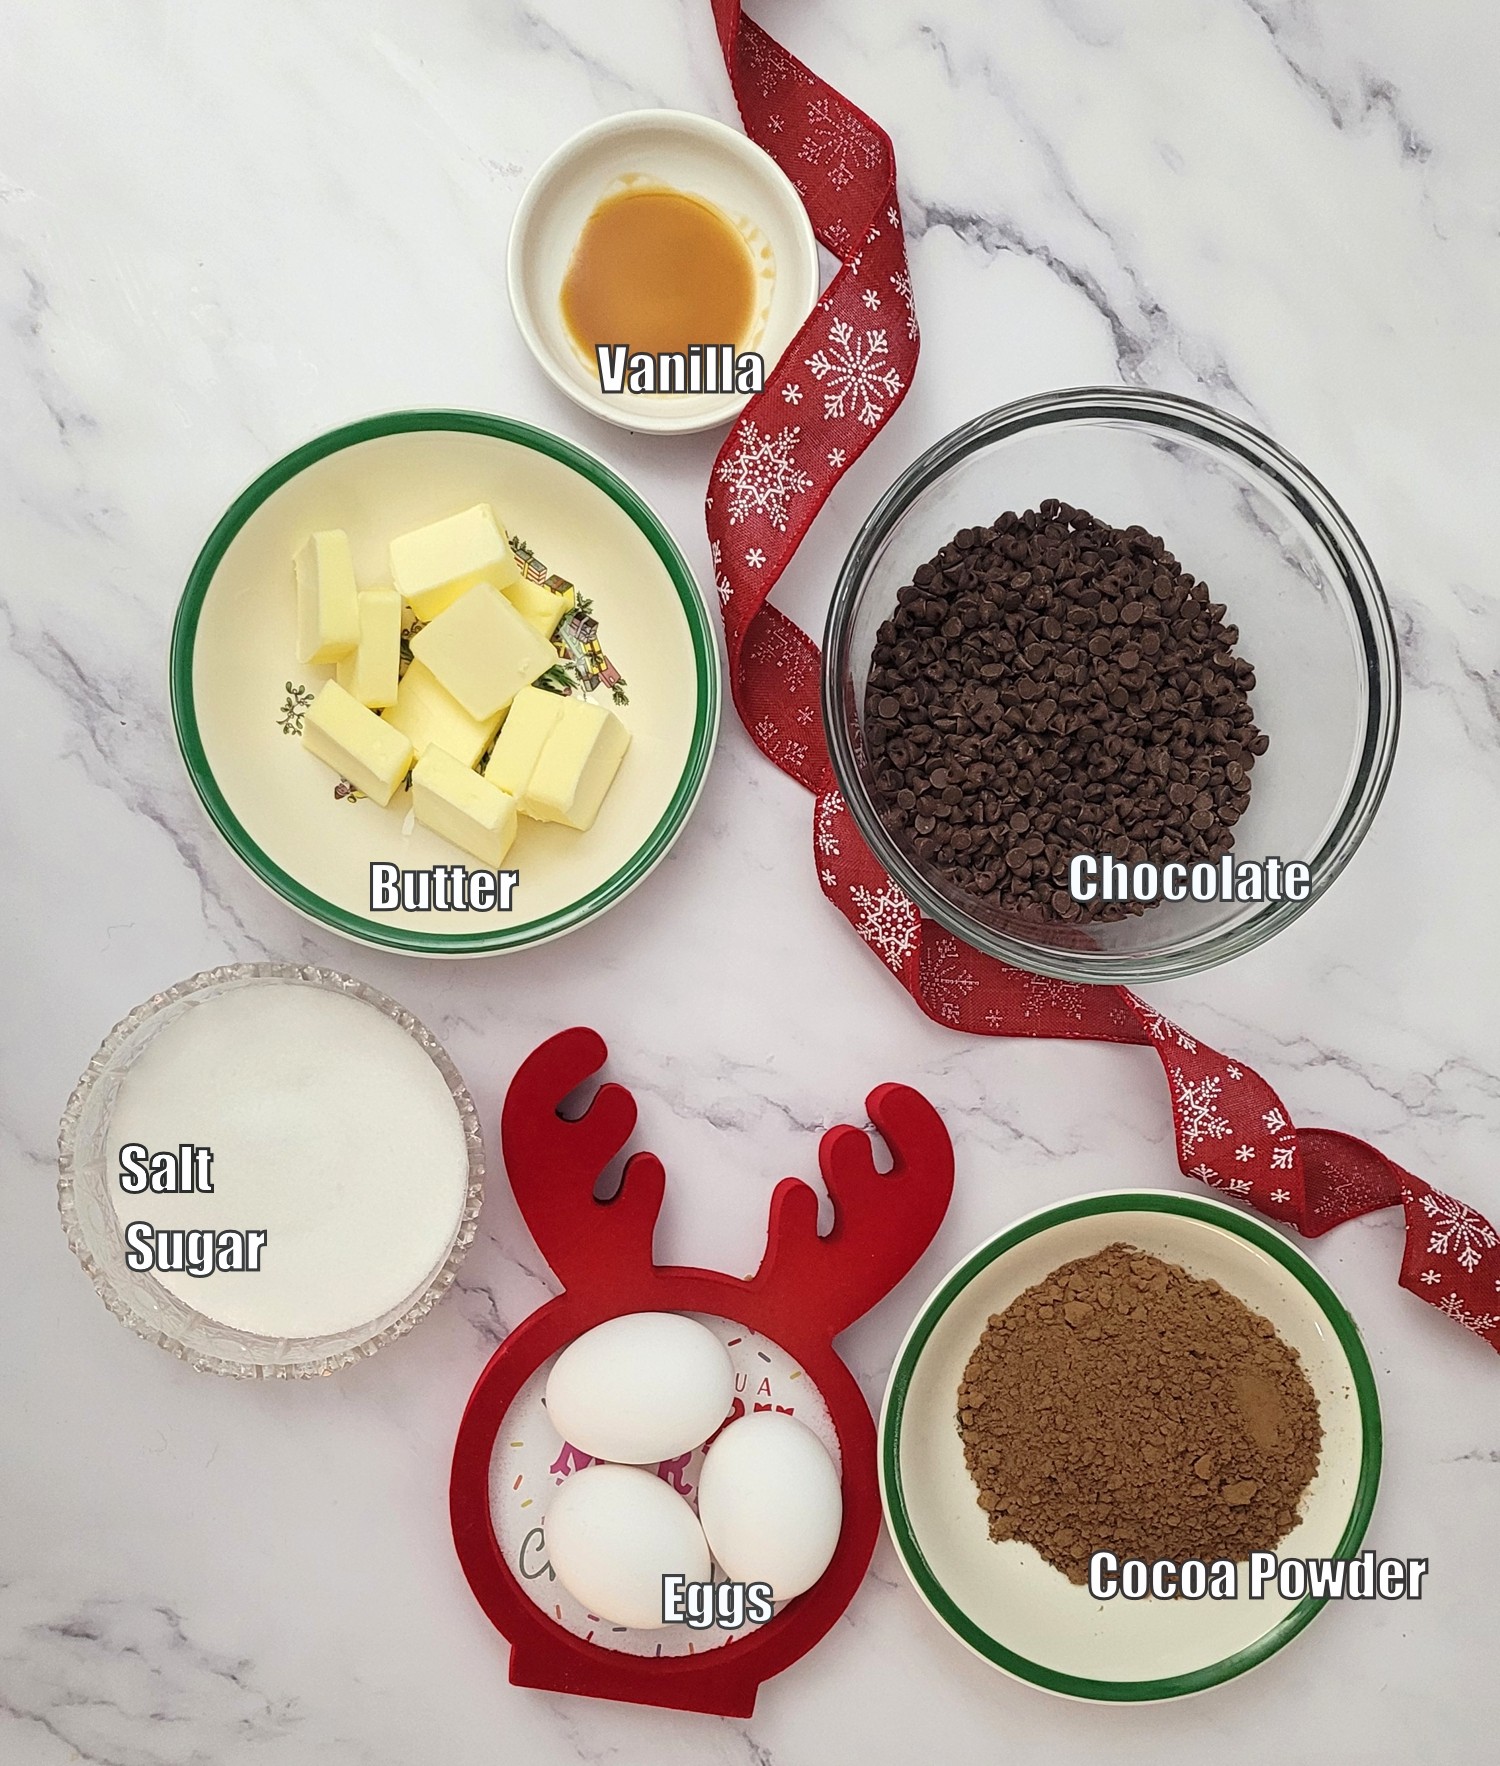
- Chocolate - use bittersweet chocolate chips
- Unsalted butter - cut the butter into cubes to ensure it melts evenly when combined with the chocolate
- Granulated sugar and salt
- Eggs - bring eggs to room temperature before starting this recipe. Room temperature eggs will incorporate more easily into the cake batter
- Cocoa powder - use Dutch-processed cocoa powder. Sift if necessary to remove any lumps.
- Powdered sugar - sprinkle over top of cake after baking (optional)
See recipe card for quantities.
Decorating ingredients
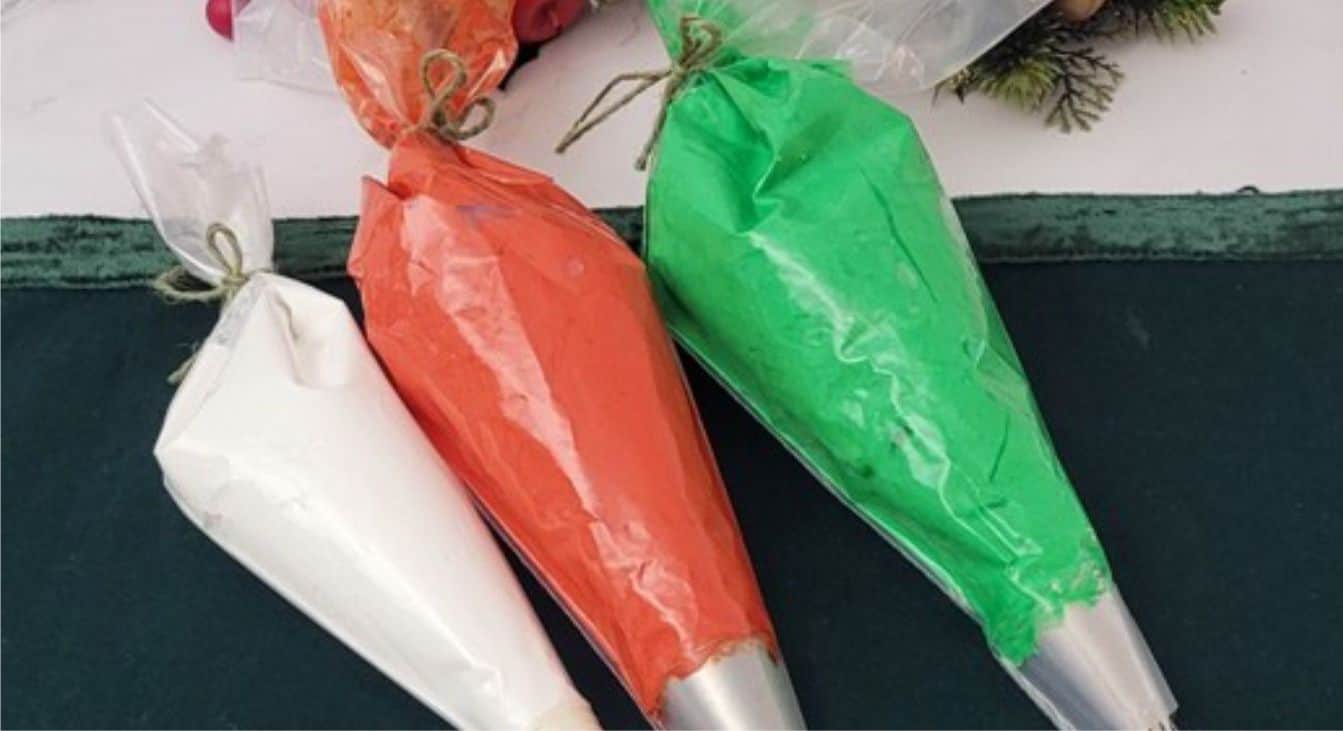
I decorated my cake slices with royal icing, but you could also use buttercream for a different look and flavor. You need the following ingredients to make royal icing:
- Powdered sugar - sift to remove any lumps
- Meringue powder
- Water
- Food coloring - I used red and green gel colors
- Sprinkles - optional for adding 'ornaments' to the Christmas trees
Instructions
Flourless Christmas cake instructions
Follow these simple steps, and you’ll soon be savoring this gluten-free Christmas cake:
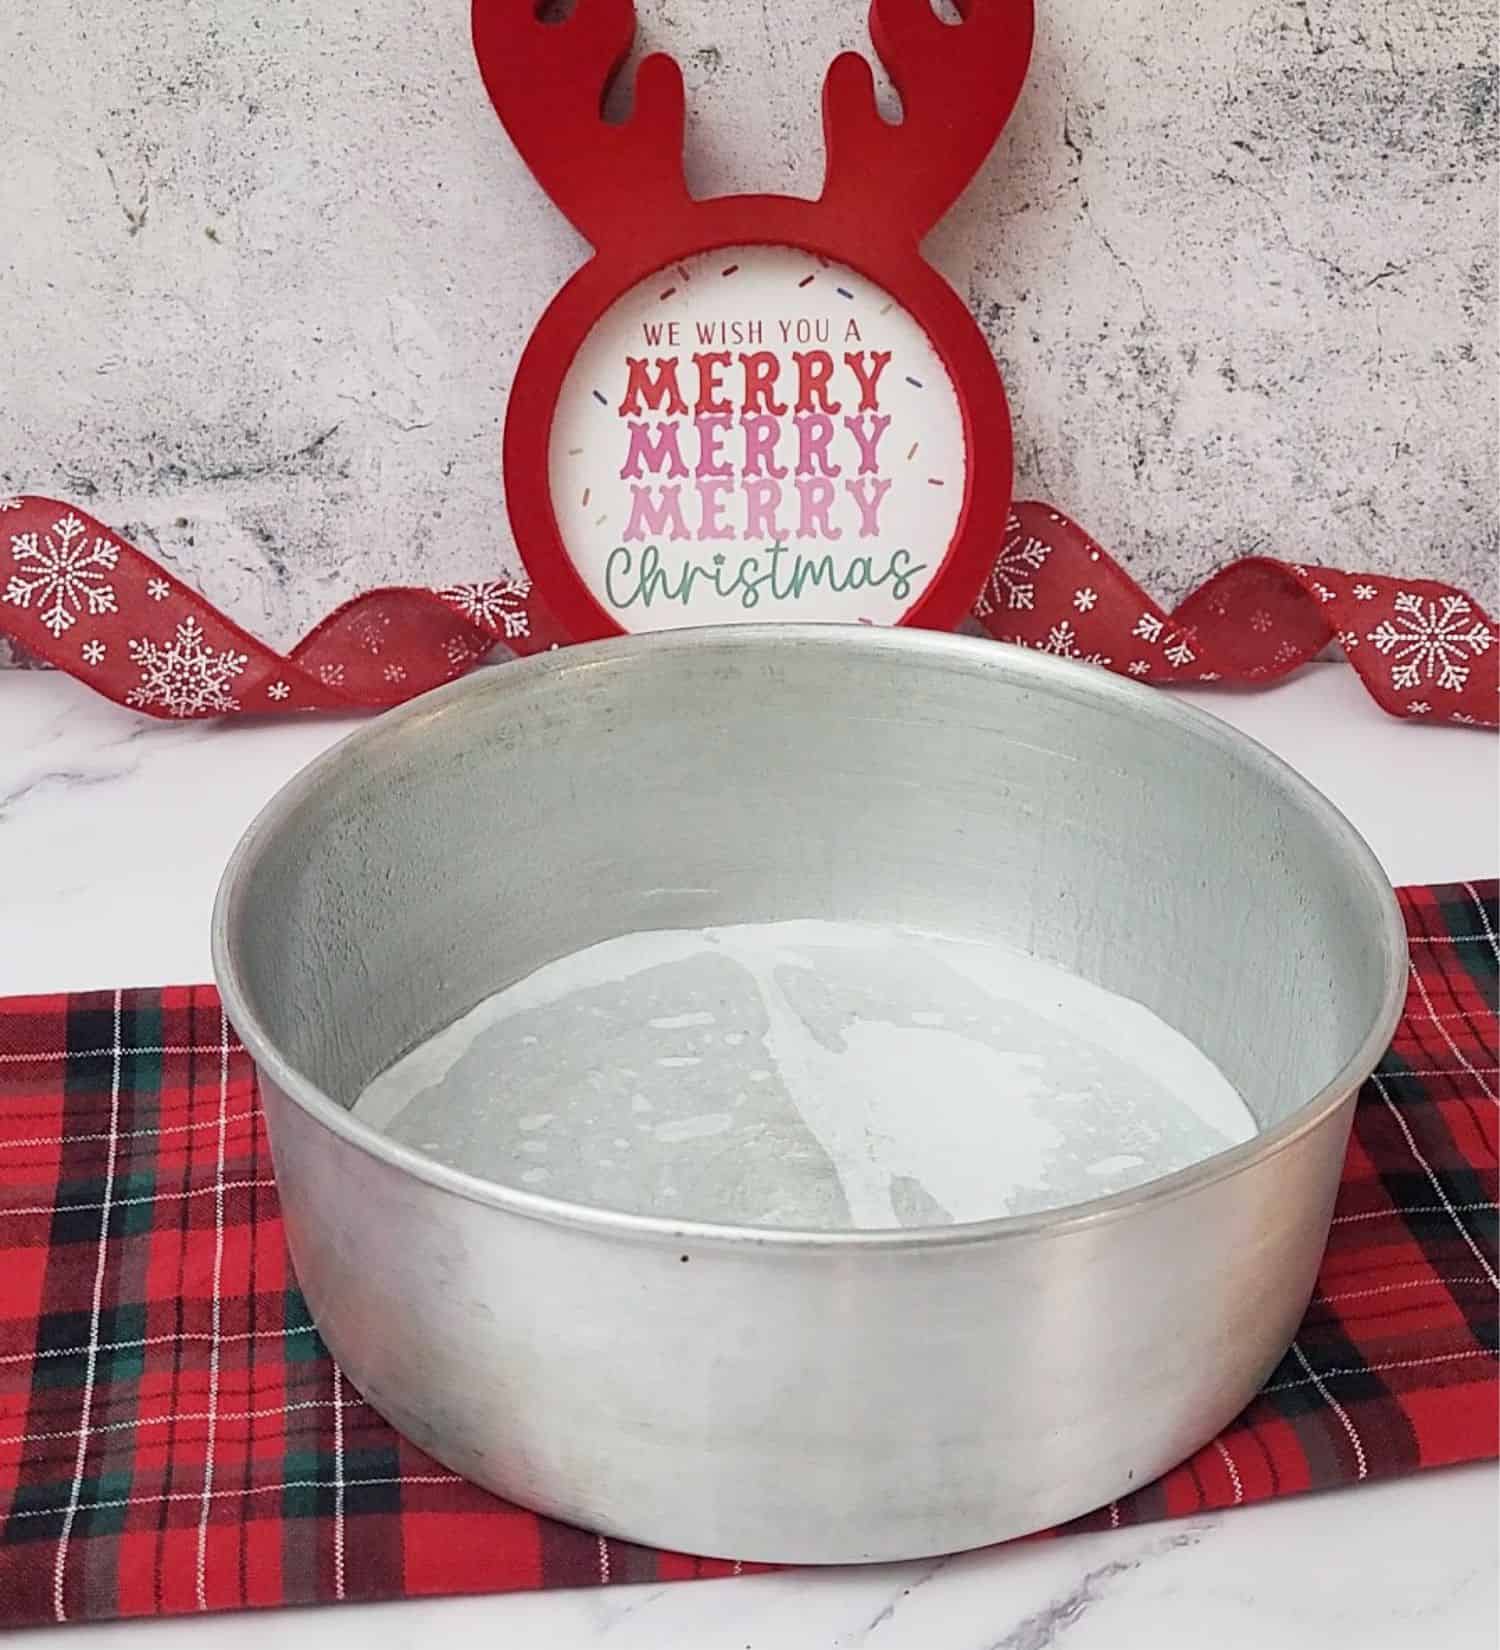
1 - Prepare an 8-inch round cake pan by coating with baking spray and lining the bottom with parchment paper.
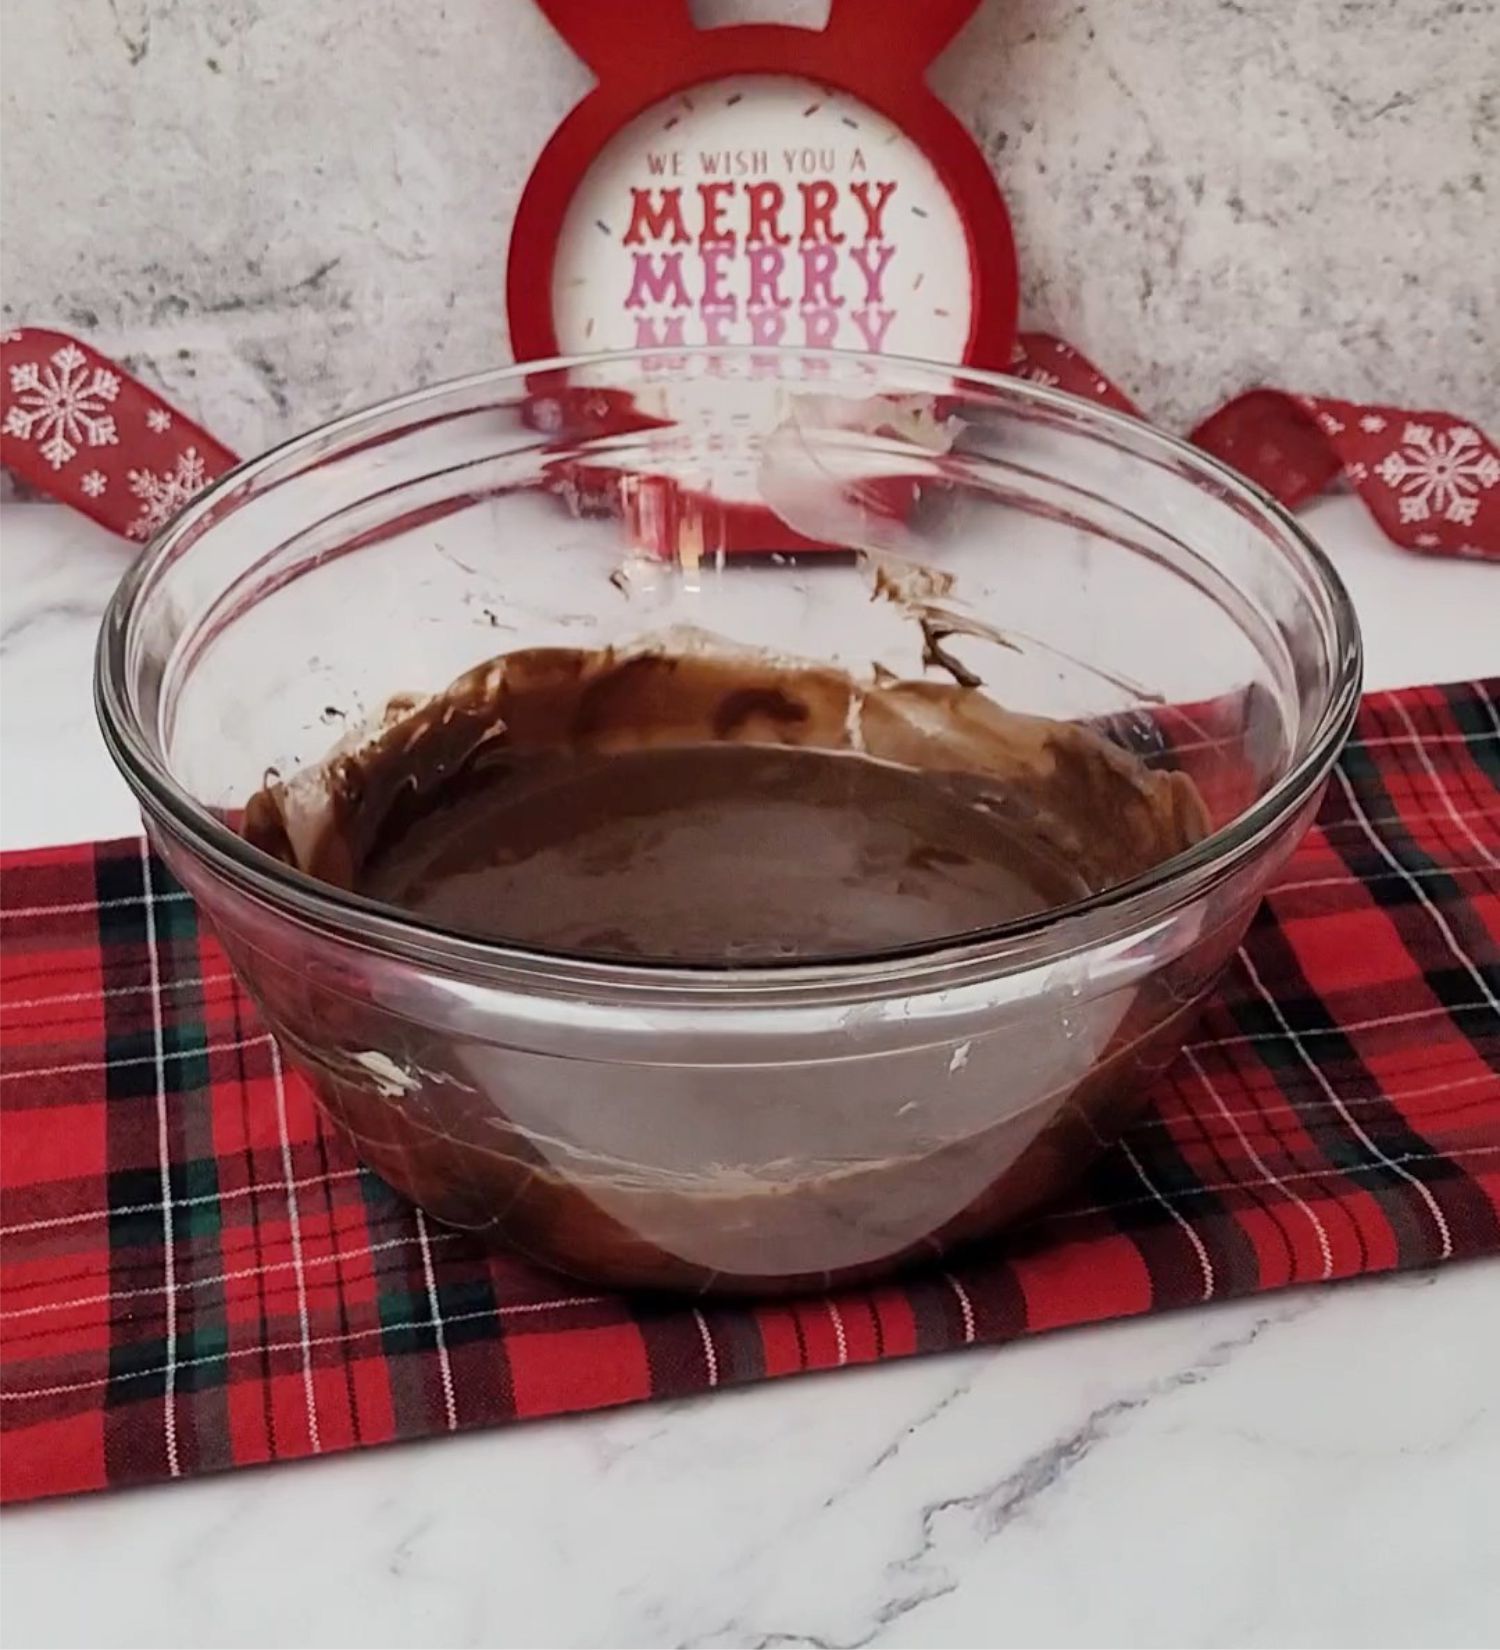
2 - Place chocolate and butter in a heat-resistant bowl. Microwave on 50% power for 30 seconds and stir briefly. Continue to heat at 30 second intervals, stirring between each heating, until butter and chocolate are melted.
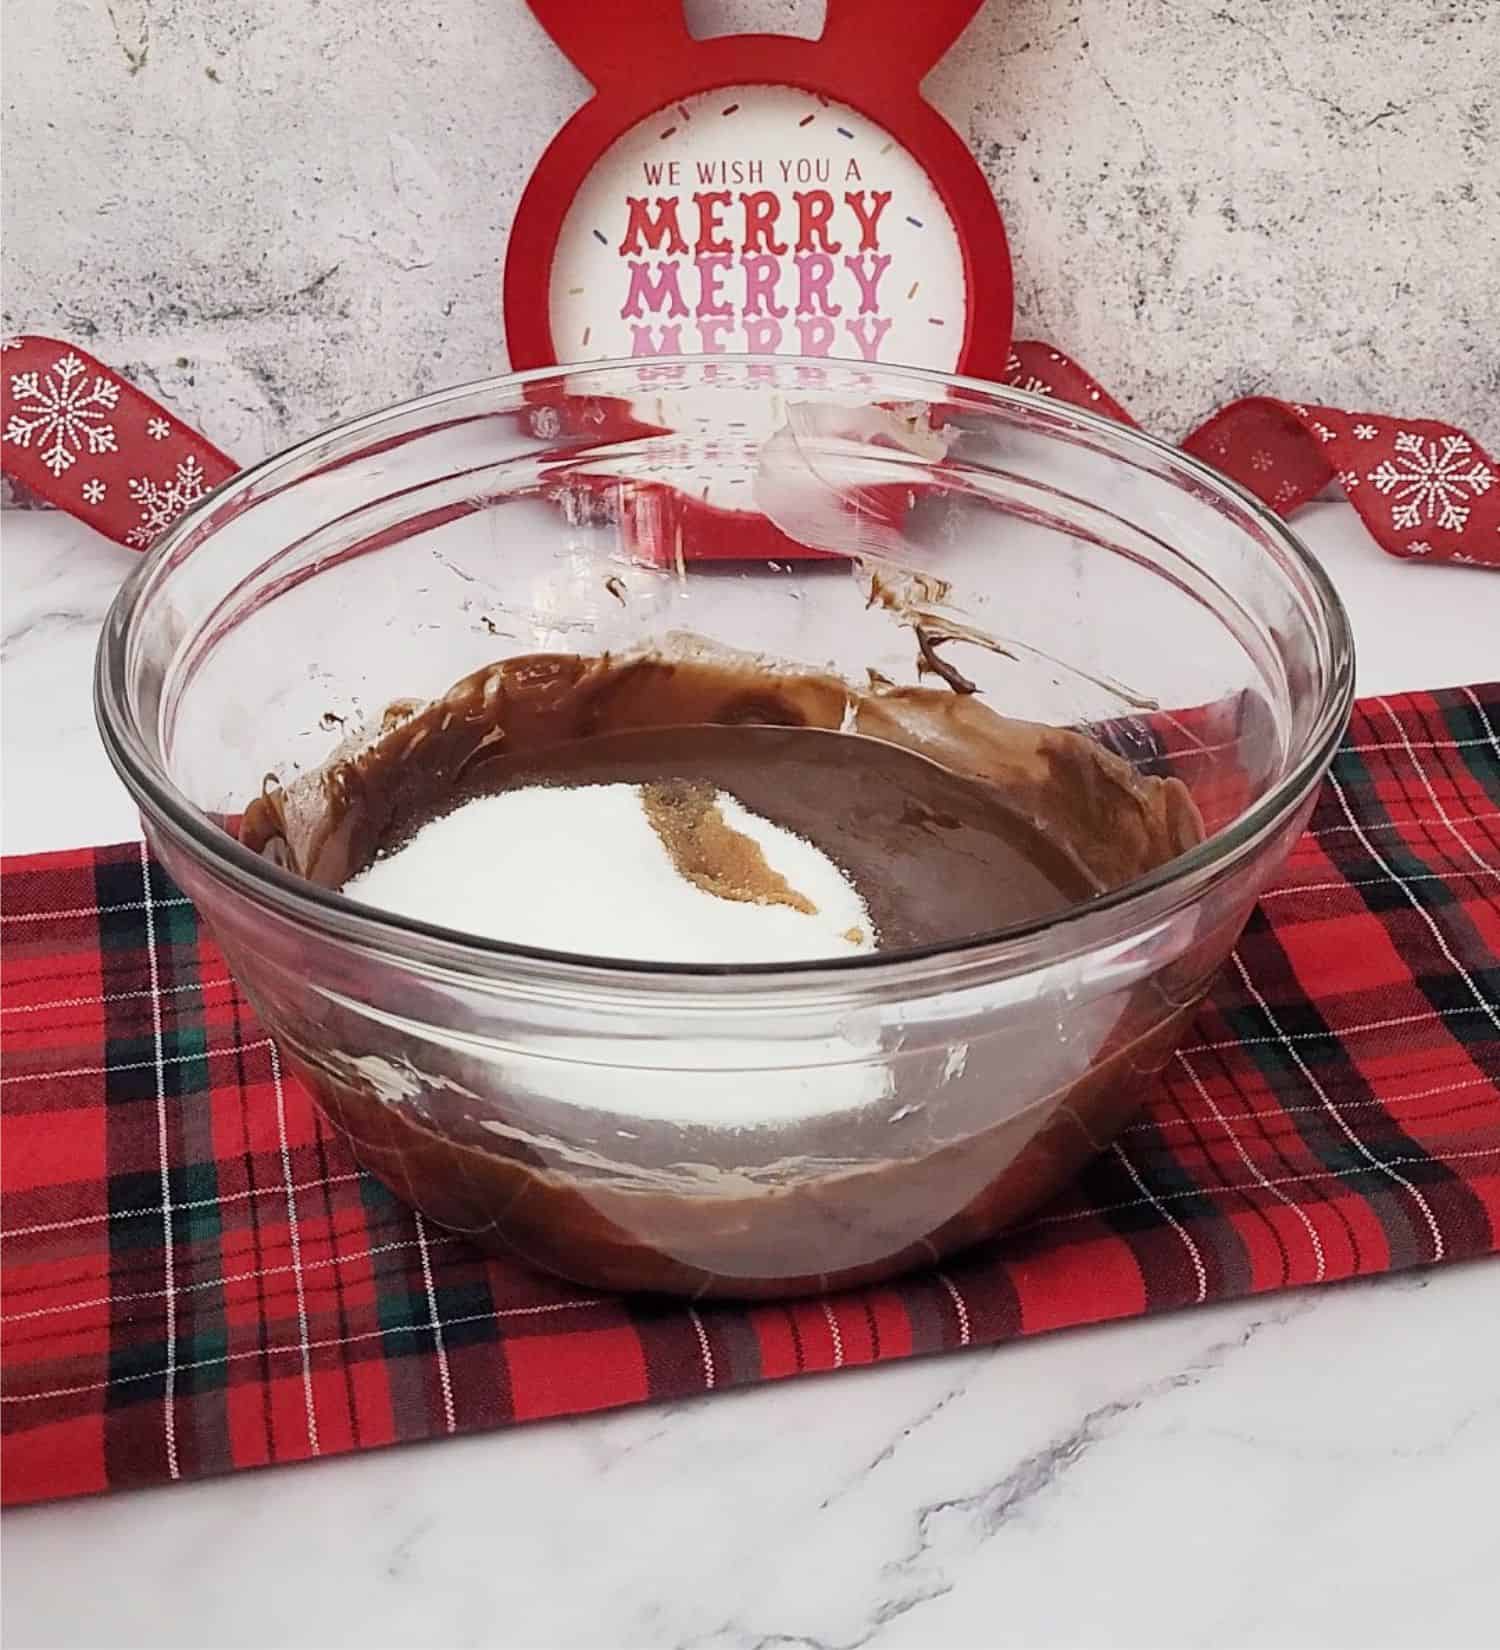
3 - Add sugar, salt and vanilla to the bowl with melted chocolate/butter. Whisk until well blended.
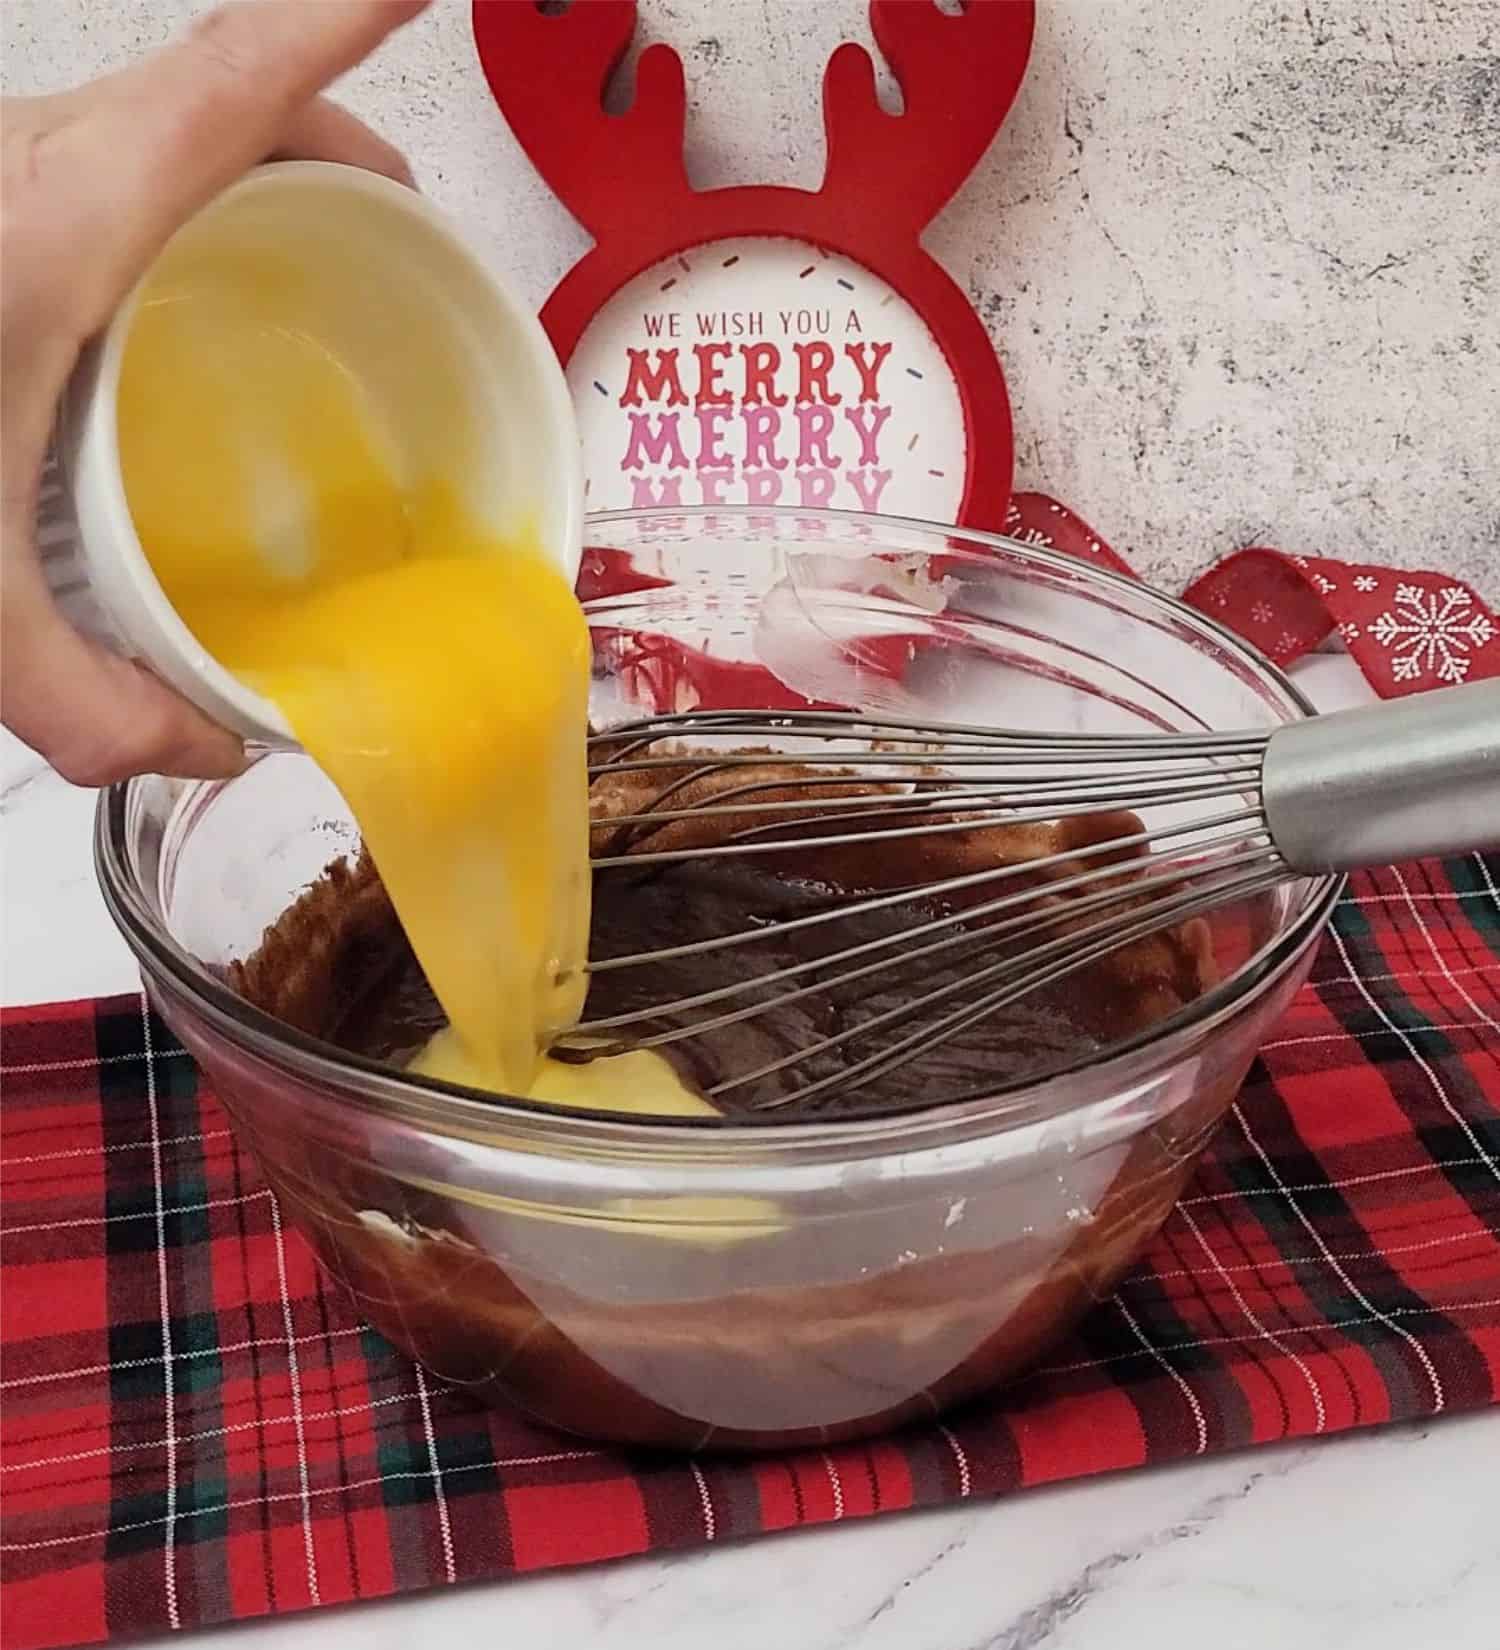
4 - Add eggs. Whisk until well blended.
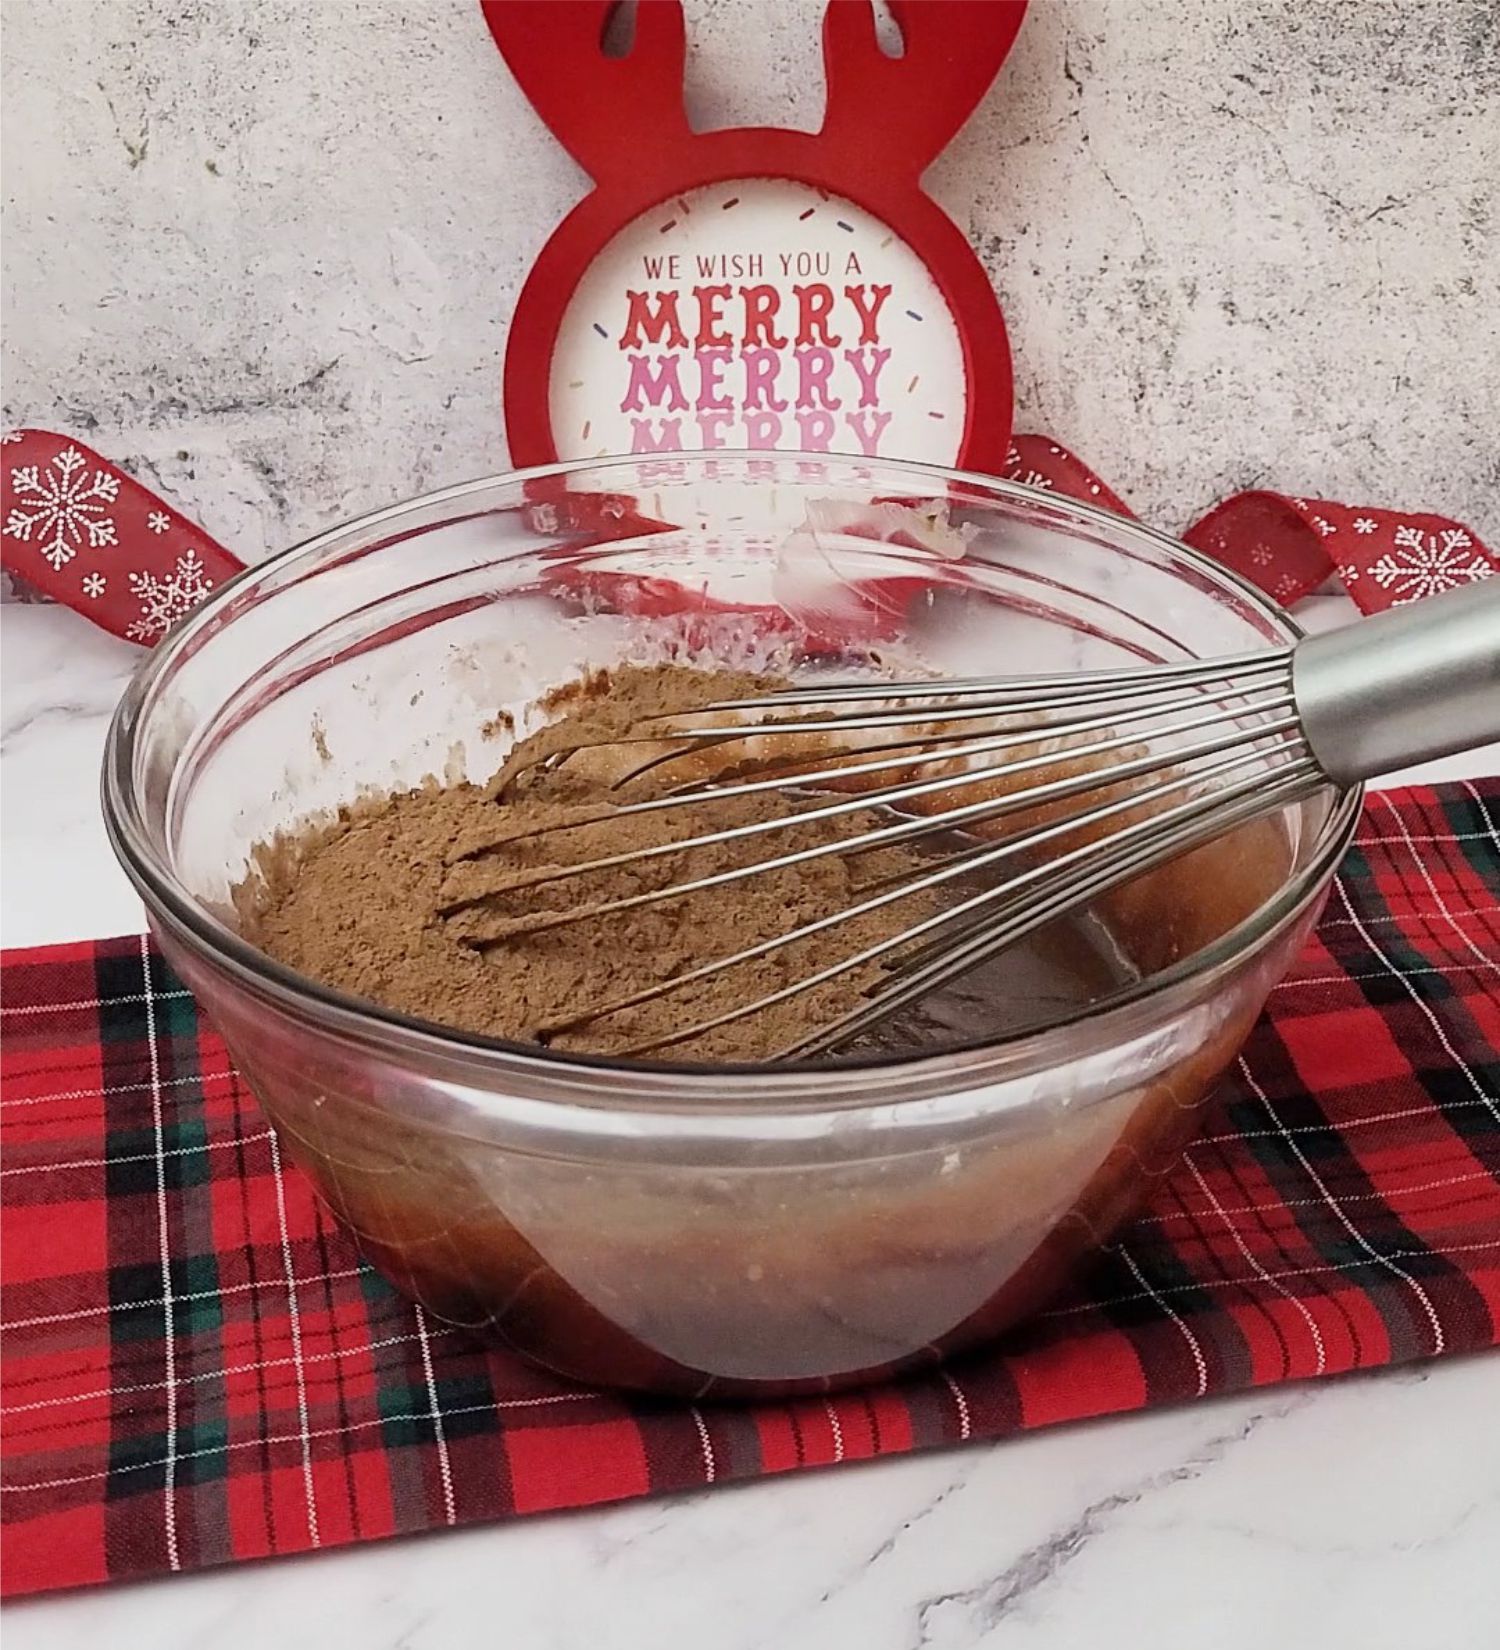
5 - Add cocoa powder and whisk until well blended.
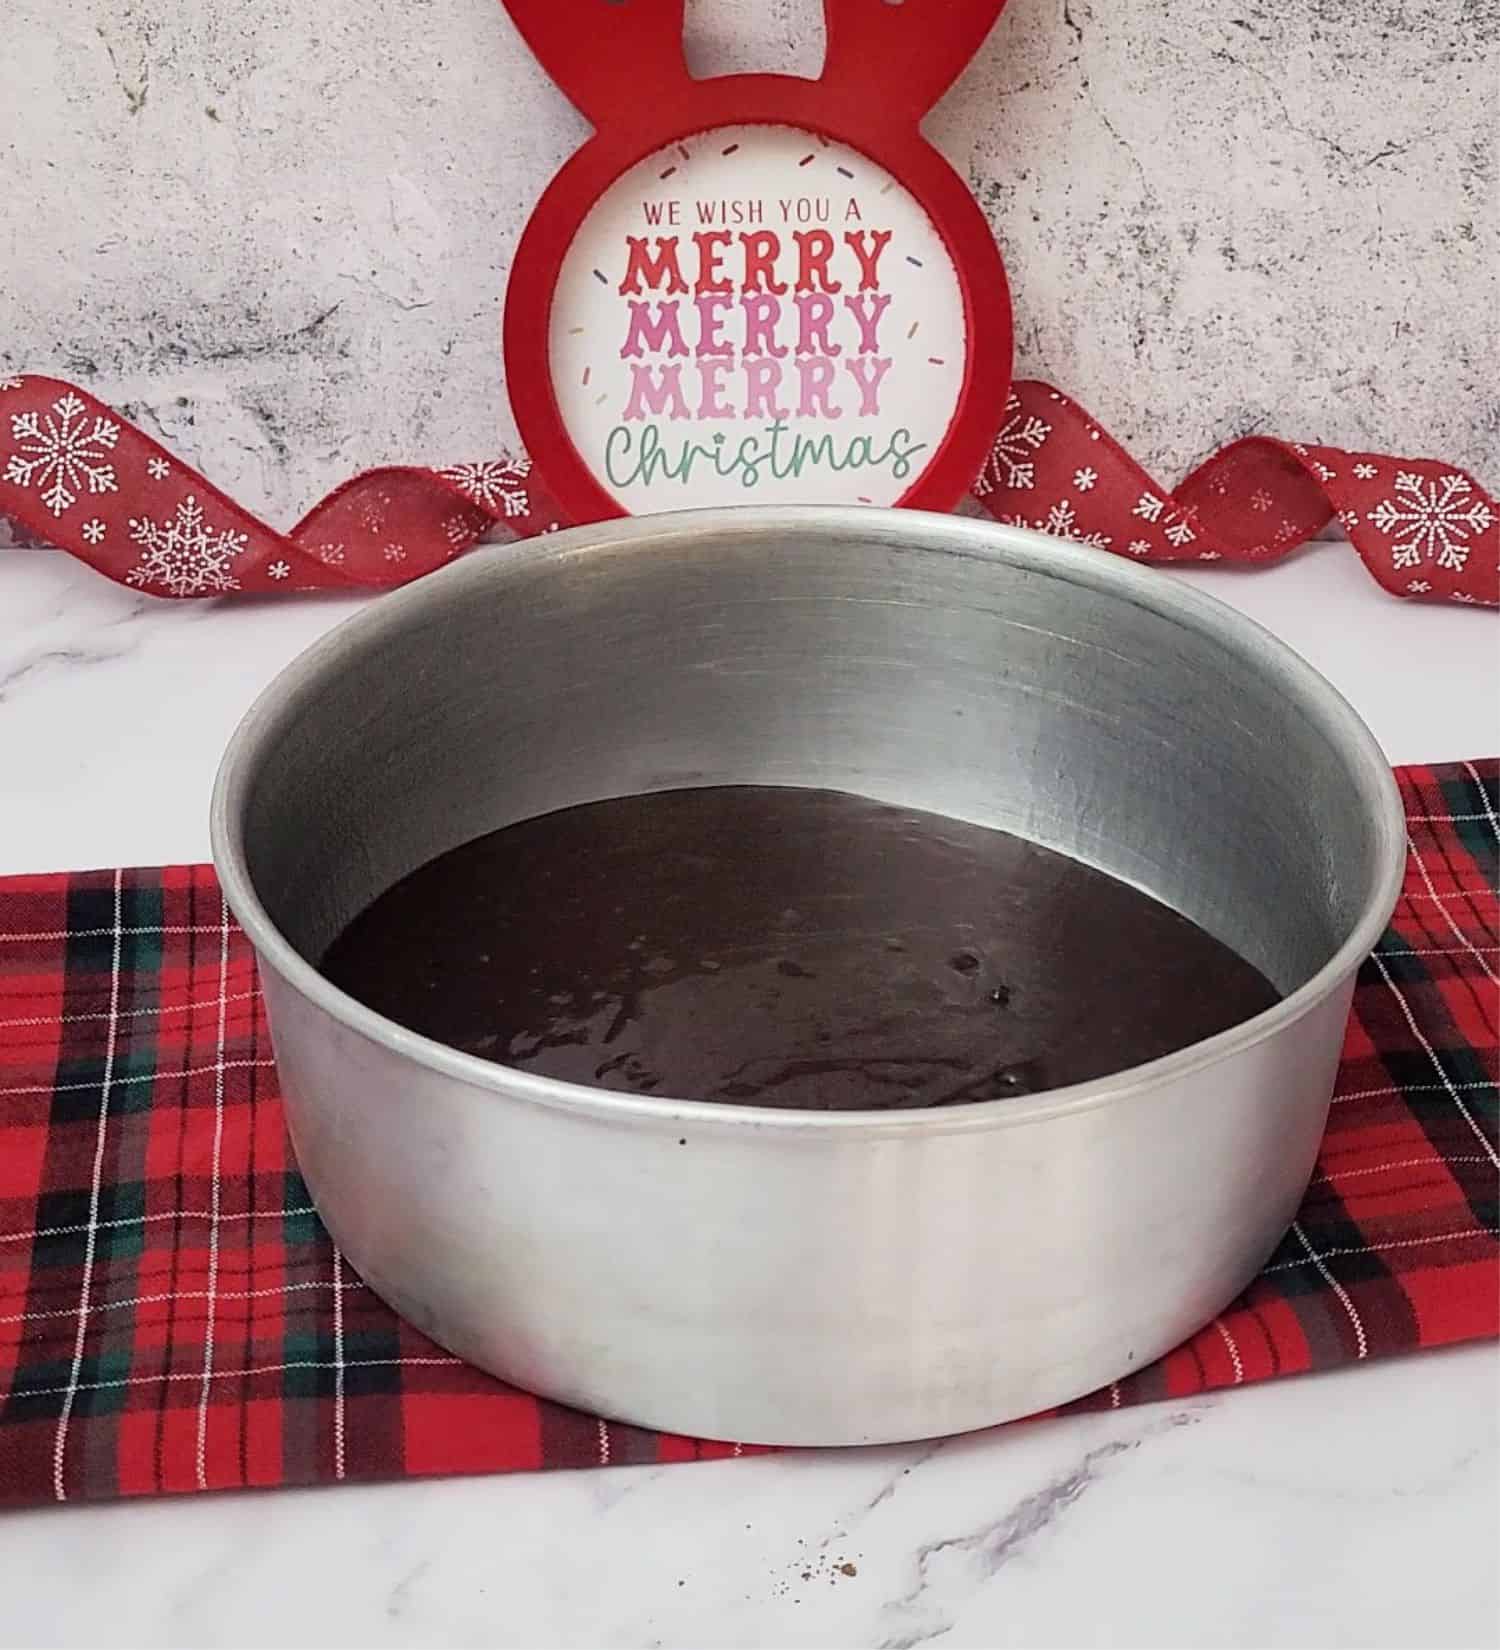
6 - Pour cake batter into the prepared cake pan. Smooth top with an offset spatula or by tapping lightly on a countertop.
Baking and cooling instructions
1 - Bake for 25 - 30 minutes at 350℉ / 180℃. The cake is finished when the internal temperature of the cake is 200℉ / 94℃ (use an instant read thermometer inserted into the center of the cake to check for doneness).
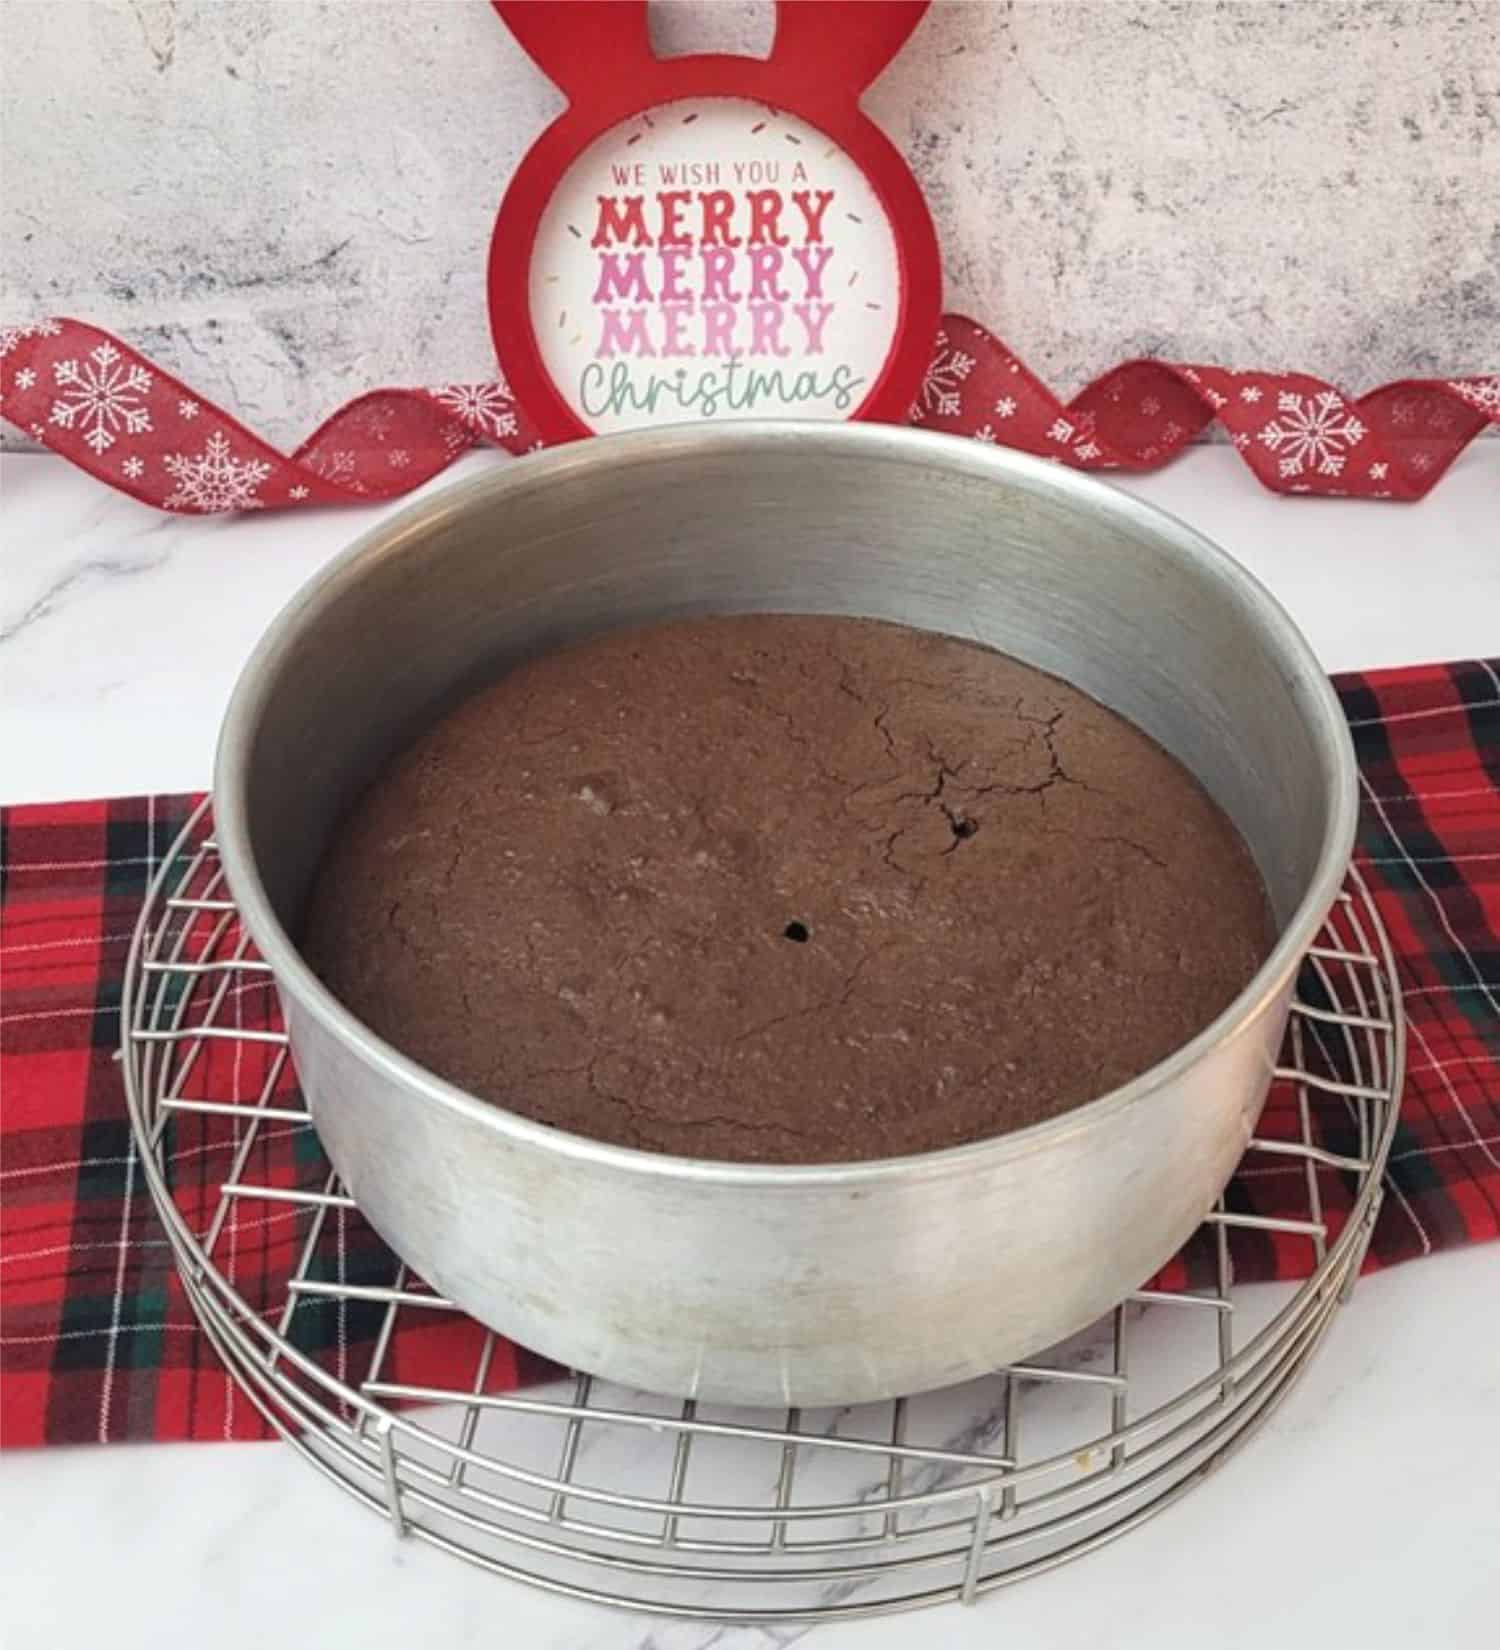
2 - Place cake pan on a wire rack for 10 minutes.
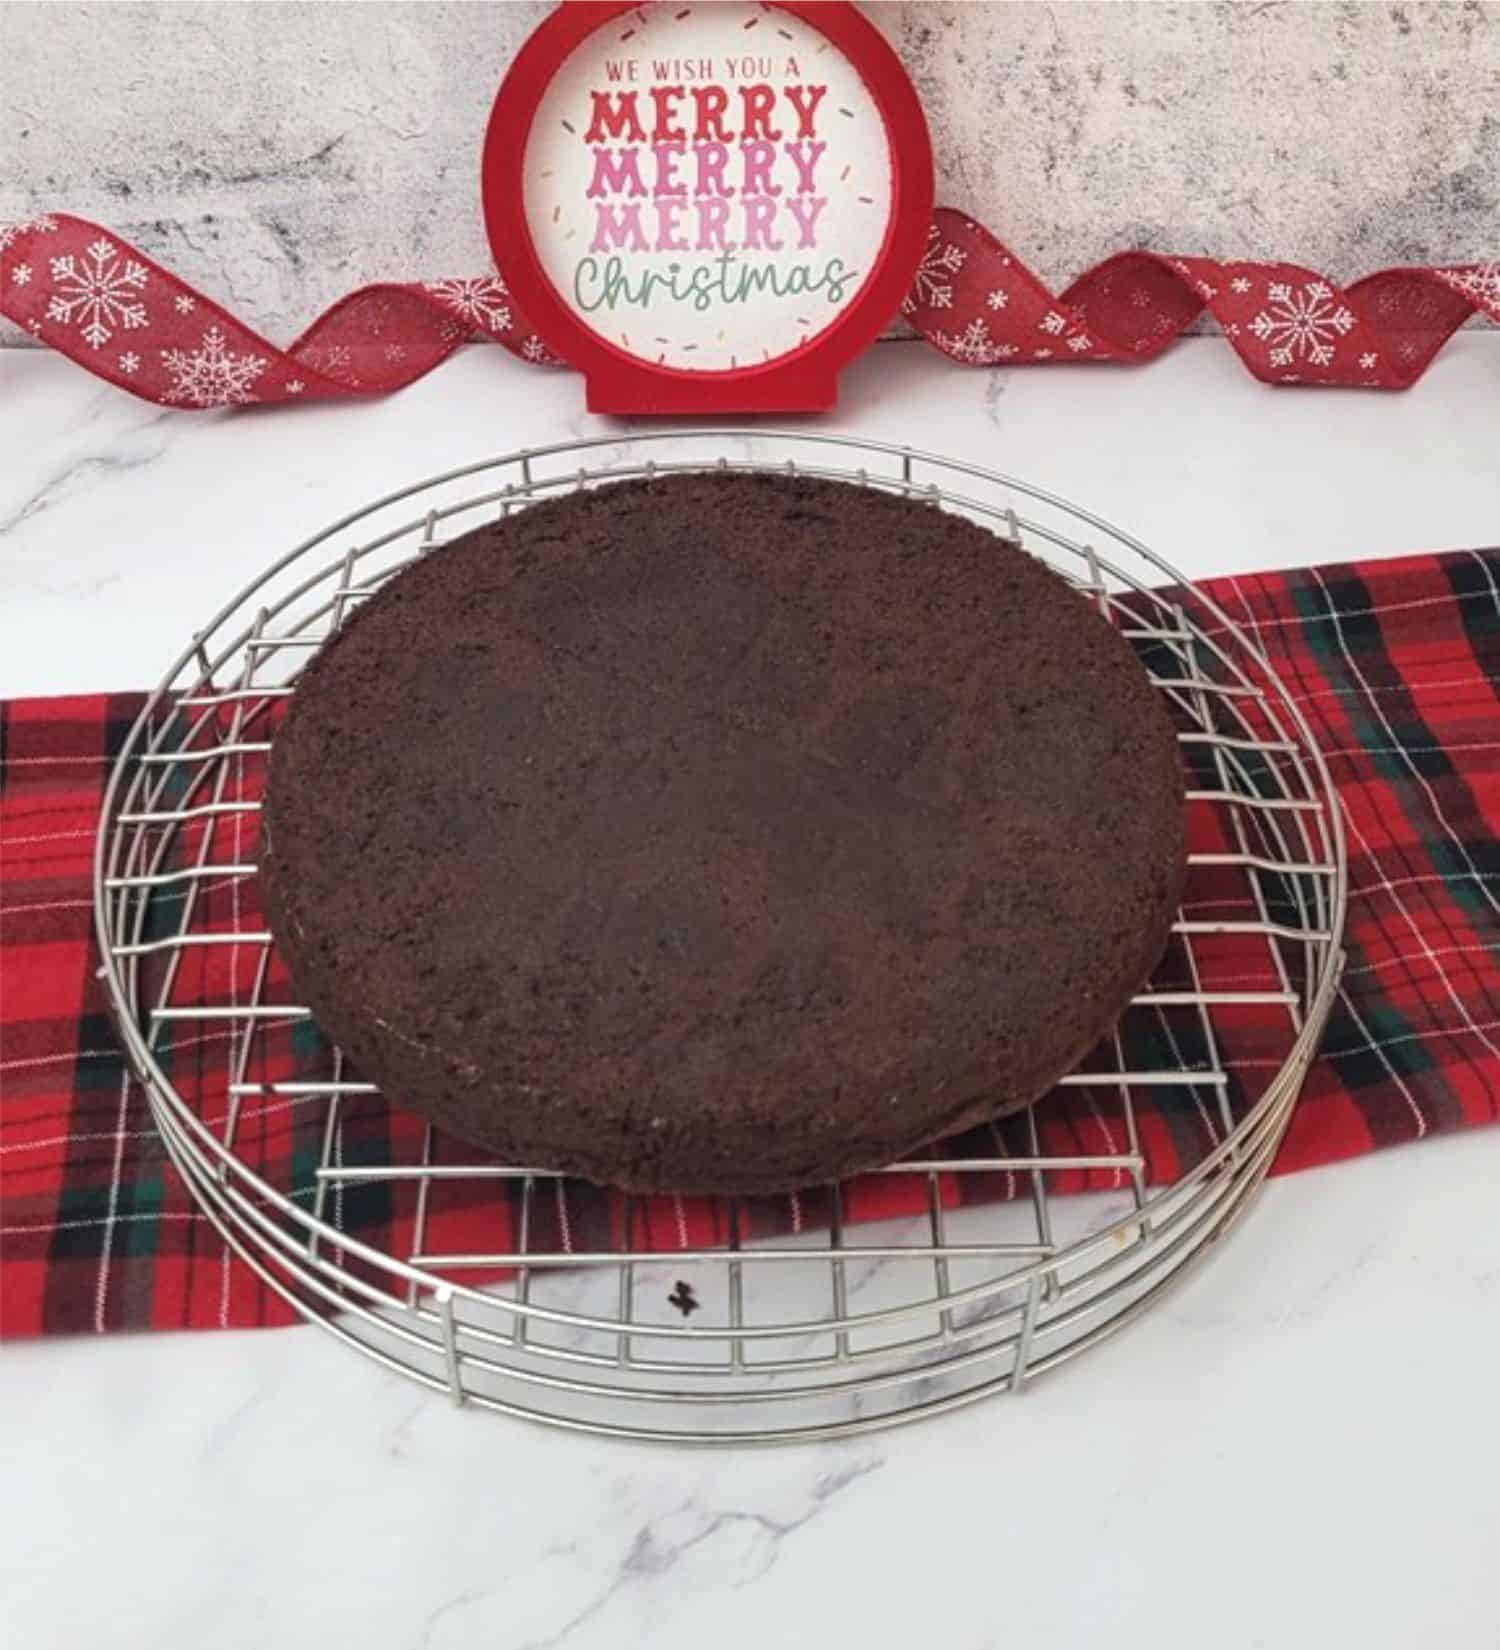
3 - Run an offset spatula around the inside of the cake pan and flip over onto a wire rack. Let the cake cool completely.
Decorating instructions
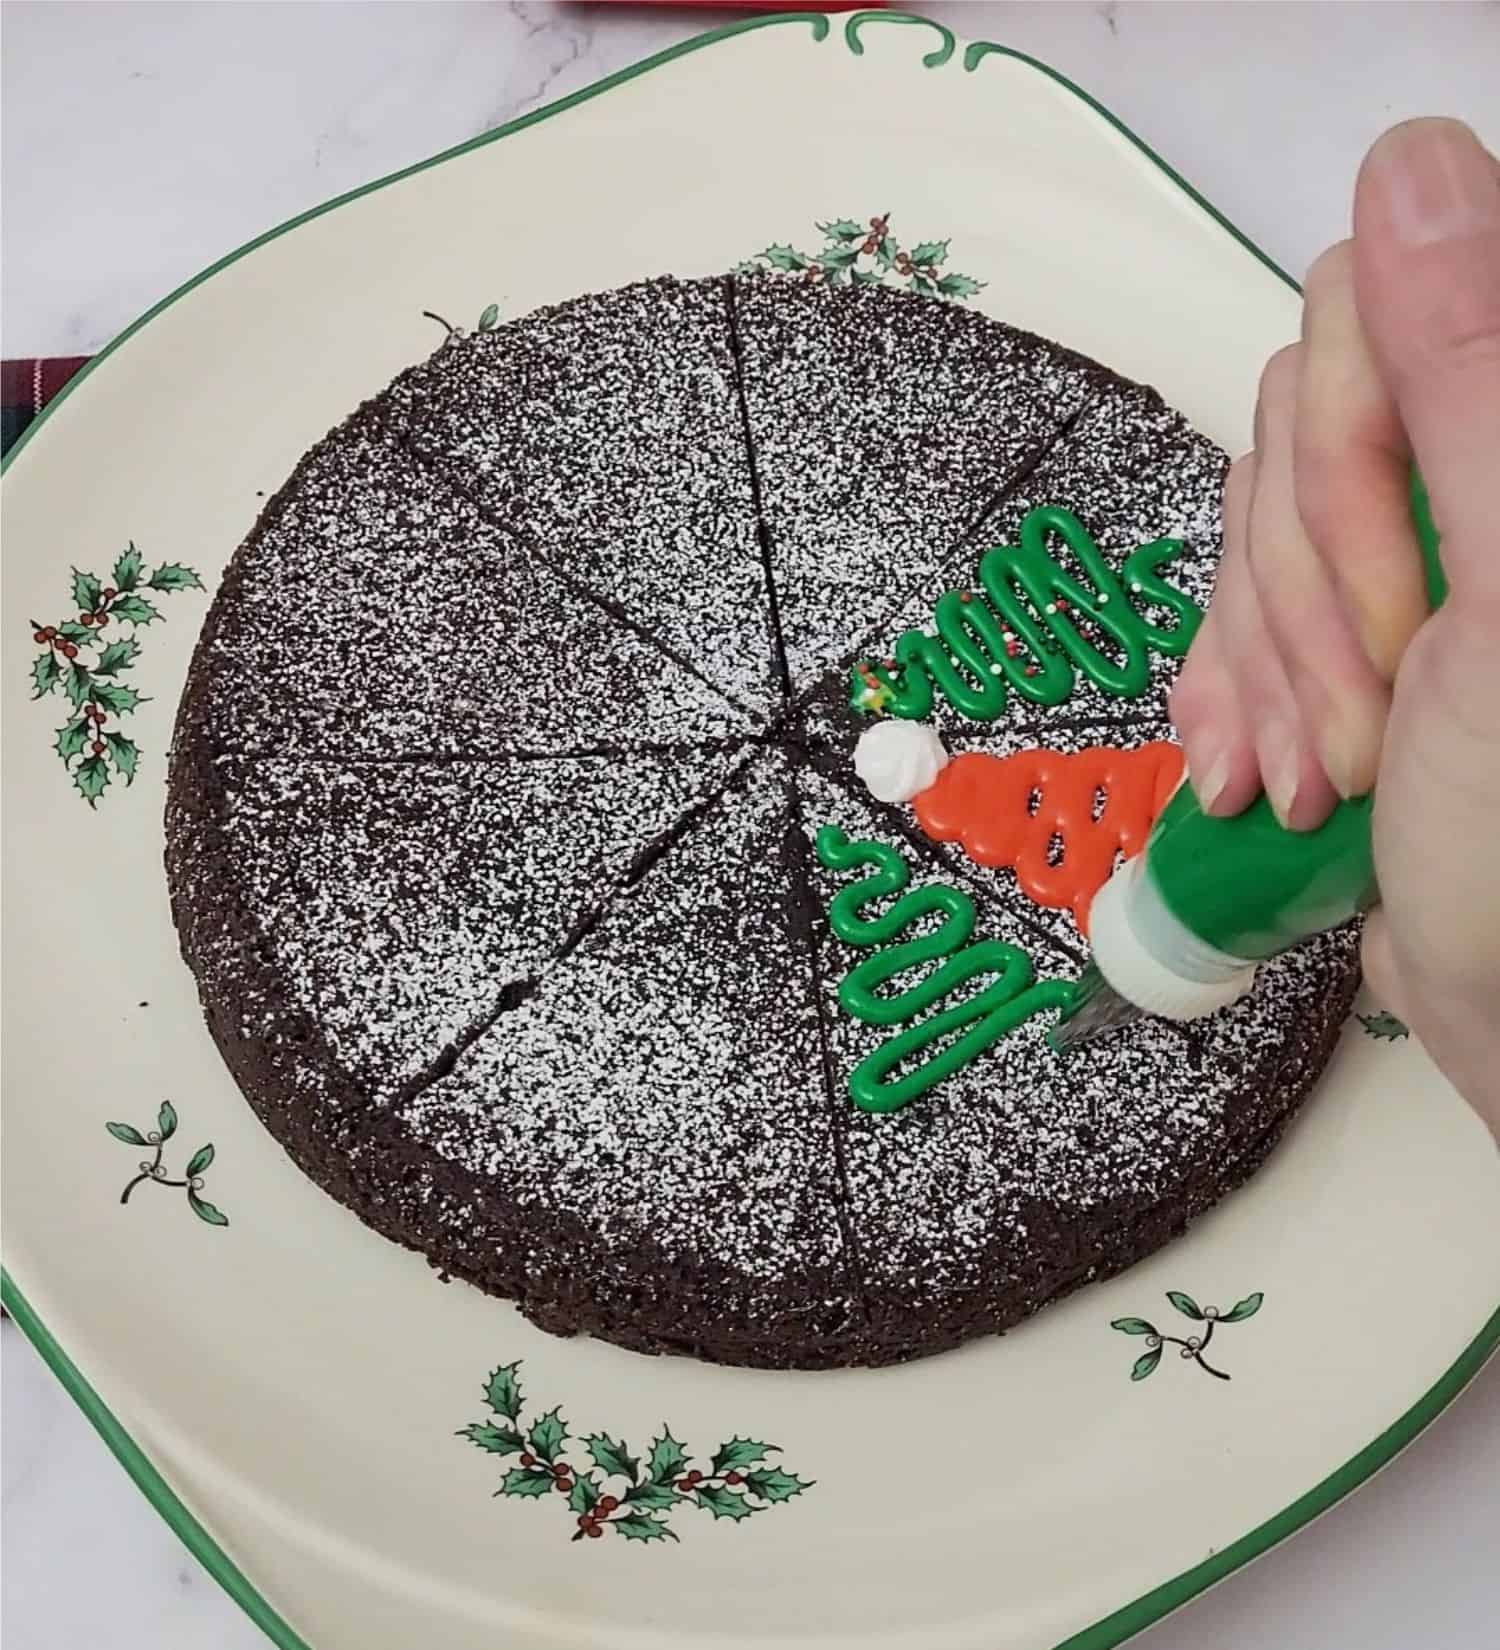
1 - Christmas tree using green icing: Hold the piping bag about half an inch off the surface. Squeeze the bag gently while moving it in a wavy motion, starting with narrow lines at the top and gradually widening them as you move downward to form the tree's shape. While the icing is still wet, add sprinkles for ornaments
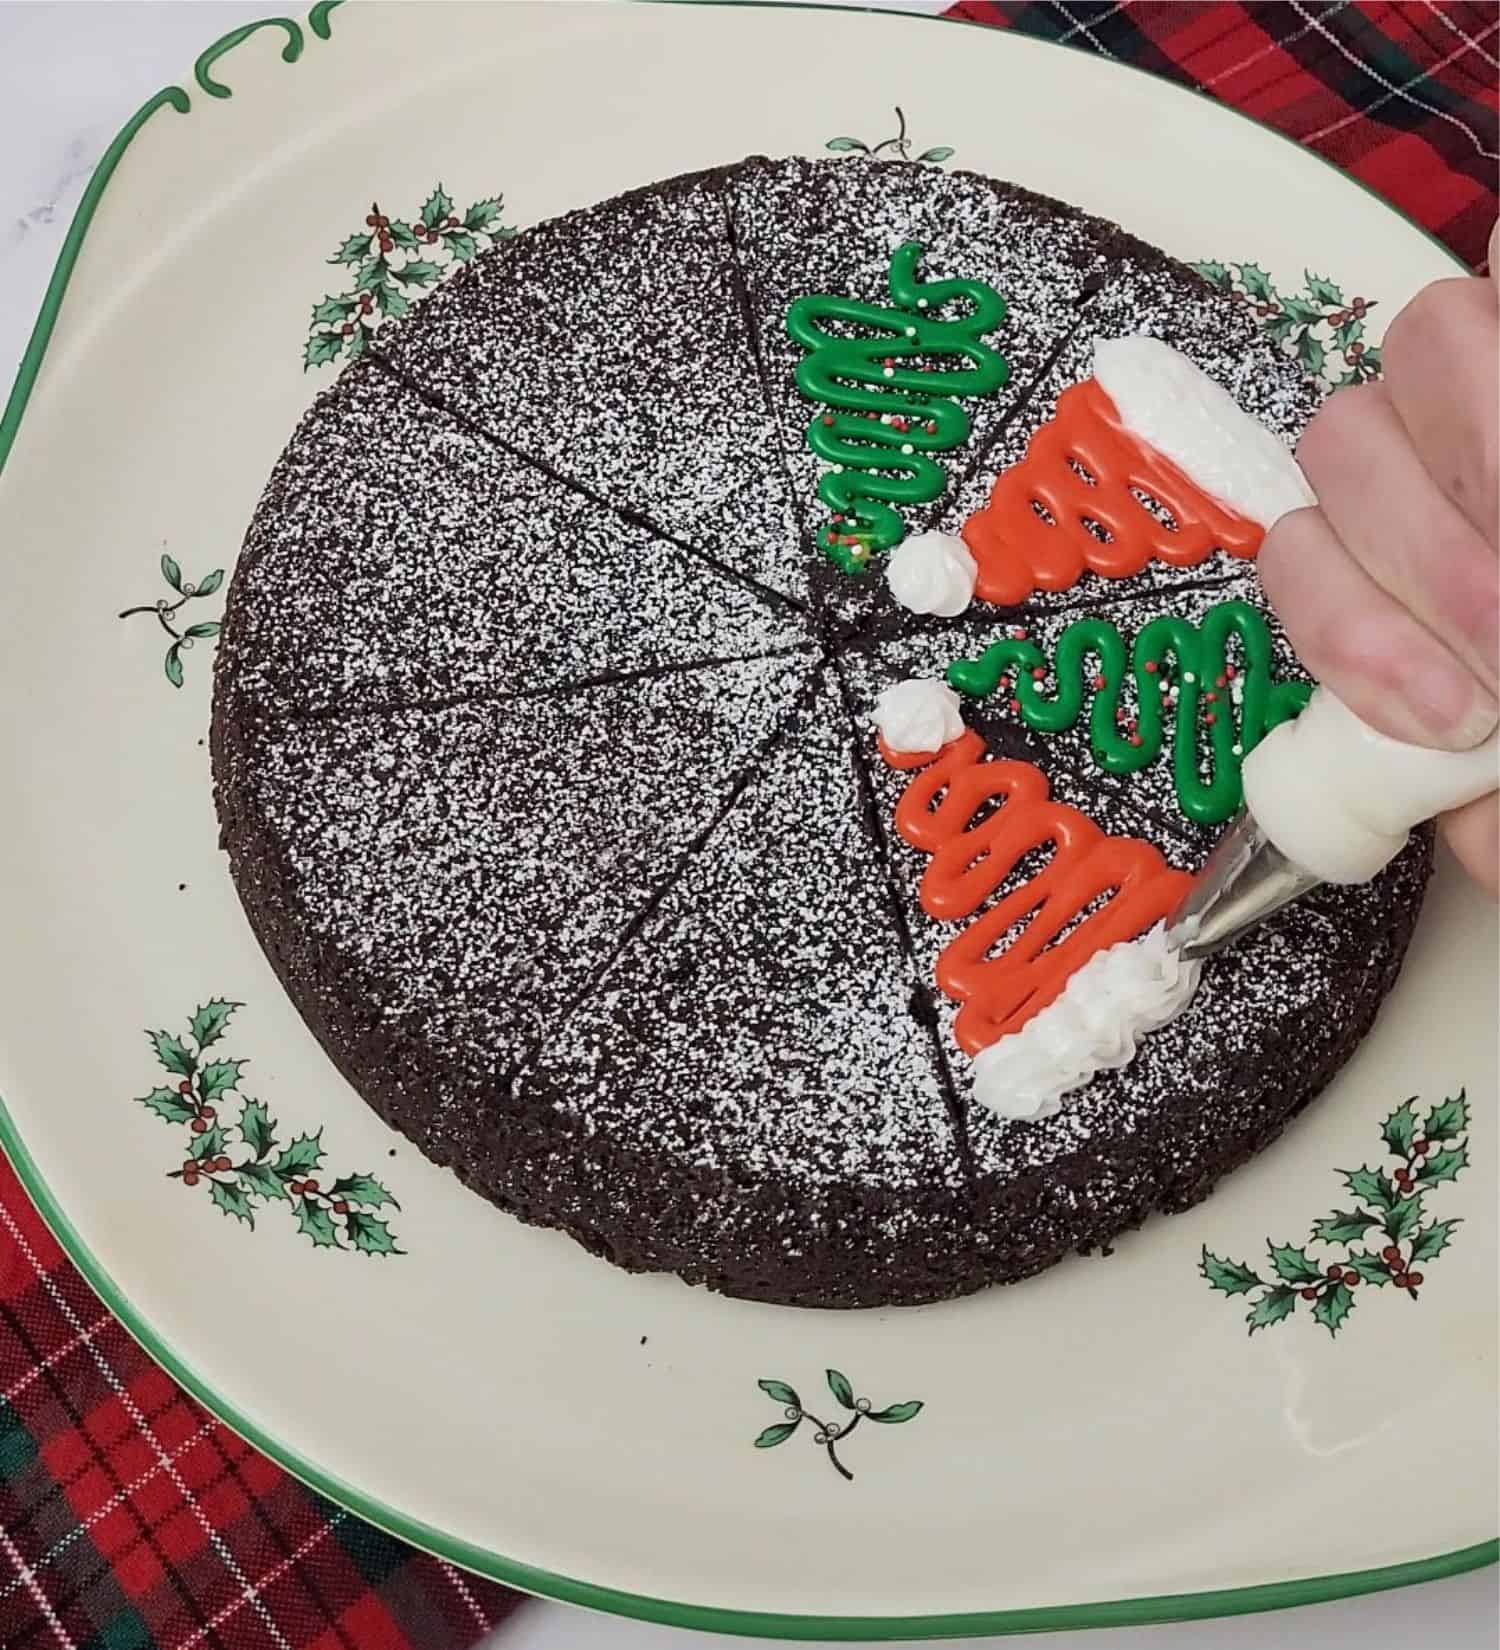
2 - Santa hat using red icing: Hold the piping bag about half an inch off the surface. Squeeze the bag gently while moving it in a wavy motion, starting with narrow lines at the top and gradually widening them as you move downward to form the hat's shape. Once the red icing is in place, use white icing to pipe a fluffy fur trim at the base of the hat and a pompom at the tip.
3 - Allow the decorated cake to rest for one hour to ensure the decorations have time to dry and set properly.
Variations
This gluten free chocolate Christmas cake recipe is delightful just as it is, but feel free to customize it to suit your preferences. Here are a few variations you might consider:
- Peppermint - replace the vanilla extract with 1 teaspoon of peppermint extract for a refreshing twist
- Nuts - after mixing the cake batter, gently fold in ½ cup of toasted and chopped pecans, almonds or walnuts
Equipment
This Flourless Christmas Cake recipe is easily mixed together without the need for a hand- or stand-mixer. You need the following equipment:
- 8" round cake pan and parchment paper for lining bottom of pan
- Bowls (heat resistant)
- Measuring cups and spoons
- Wire whisk and a rubber spatula
- Pastry bags
- Piping tips:
- 2 small round tips
- 1 small star tip
- Optional - instant read thermometer to check the cake is baked to the correct temperature
Storage
Place the cake in an airtight container and store in the refrigerator for up to 5 days. Remove from refrigerator approximately 2 hours before serving and allow to come to room temperature.
If you want to freeze the cake, it's best to do so before decorating. Wrap the cake tightly in plastic wrap or aluminum foil, and store it in the freezer for up to 2 months.
Top Tip
Unmold the cake while it is still warm for ease of removal. Let the cake rest for 10 minutes after baking, run an offset spatula around the inside of the cake pan and flip over onto a wire rack. Let the cake cool completely before decorating.
Holiday dessert recipes
Looking for other recipes like this? Try these:
I hope you enjoy this flourless Christmas cake as much as my family and friends have over the years!
📋 Recipe
Flourless Christmas Cake
Equipment
- 1 8" Cake Pan round pan
- 1 Hand whisk
- 1 Rubber spatula
- Measuring Cups
- Measuring spoons
- 3 Pastry bags
- 2 Round piping tips small
- 1 Star piping tip small
Ingredients
Flourless Cake
- 1 Cup Chocolate chips, bittersweet
- 8 Tablespoons Unsalted butter, softened
- ¾ Cup Granulated sugar
- ½ teaspoon Salt
- 1 teaspoon Pure Vanilla Extract
- 3 Large Eggs, room temperature
- ½ Cup Dutch-processed cocoa powder
- 2 Tablespoons Powdered sugar Optional - for sprinkling over top of cake after baking
Royal Icing (for decorating)
- 2 Cups Powdered sugar
- 3 Tablespoons Warm water
- 1 Tablespoon Meringue powder
- Gel food coloring (red and green)
Instructions
- Preheat oven to 350℉ / 180℃
- Prepare an 8-inch round cake pan by coating with baking spray and lining the bottom with parchment paper.
Cake
- Place chocolate and butter in a heat-resistant bowl. Microwave on 50% power for 30 seconds and stir briefly. Continue to heat at 30 second intervals, stirring between each heating, until butter and chocolate are melted.1 Cup Chocolate chips, bittersweet, 8 Tablespoons Unsalted butter, softened
- Add sugar, salt and vanilla to the bowl with melted chocolate/butter. Whisk until well blended.¾ Cup Granulated sugar, ½ teaspoon Salt, 1 teaspoon Pure Vanilla Extract
- Add eggs. Whisk until well blended.3 Large Eggs, room temperature
- Add cocoa powder and whisk until well blended.½ Cup Dutch-processed cocoa powder
- Pour cake batter into the prepared cake pan. Smooth top with an offset spatula or by tapping lightly on a countertop.
- Bake for 25 - 30 minutes in pre-heated oven. The cake is finished when the internal temperature of the cake is 200℉ / 94℃ (use an instant read thermometer inserted into the center of the cake to check for doneness).
- Place the cake on a wire rack for 10 minutes. Run an offset spatula around the inside of the cake pan and flip over onto a wire rack. Let the cake cool completely
- Optional: sprinkle a few tablespoons of powdered sugar over top of cake before decorating.2 Tablespoons Powdered sugar
Royal Icing
- Place powdered sugar, warm water and meringue powder in the bowl of a hand or stand mixer. Begin mixing on low speed and gradually increase speed to medium high. Mix for 3 - 4 minutes.2 Cups Powdered sugar, 3 Tablespoons Warm water, 1 Tablespoon Meringue powder
- Divide the royal icing evenly into three bowls. Leave one portion white, then color the other two portions red and green. Cover bowls with damp kitchen towels to prevent icing from drying out.Gel food coloring (red and green)
Decorating
- Cut cake into 8 equally sized portions.
- Place green and red royal icing into pastry bags fitted with a small round tip. Place white royal icing into a pastry bag fitted with a small star tip.
- Christmas tree using green icing: Hold the piping bag about half an inch off the surface. Squeeze the bag gently while moving it in a wavy motion, starting with narrow lines at the top and gradually widening them as you move downward to form the tree's shape. While the icing is still wet, add sprinkles for ornaments
- Santa hat using red icing: Hold the piping bag about half an inch off the surface. Squeeze the bag gently while moving it in a wavy motion, starting with narrow lines at the top and gradually widening them as you move downward to form the hat's shape.
- Once the red icing is in place, use white icing to pipe a fluffy fur trim at the base of the hat and a pompom at the tip.
- Allow the decorated cake to rest for one hour to ensure the decorations have time to dry and set properly.
Video
Notes
-
Storage:
- Place the cake in an airtight container and store in the refrigerator for up to 5 days. Remove from refrigerator approximately 2 hours before serving and allow to come to room temperature.
- If you want to freeze the cake, it's best to do so before decorating. Wrap the cake tightly in plastic wrap or aluminum foil, and store it in the freezer for up to 2 months.




Leave a Reply