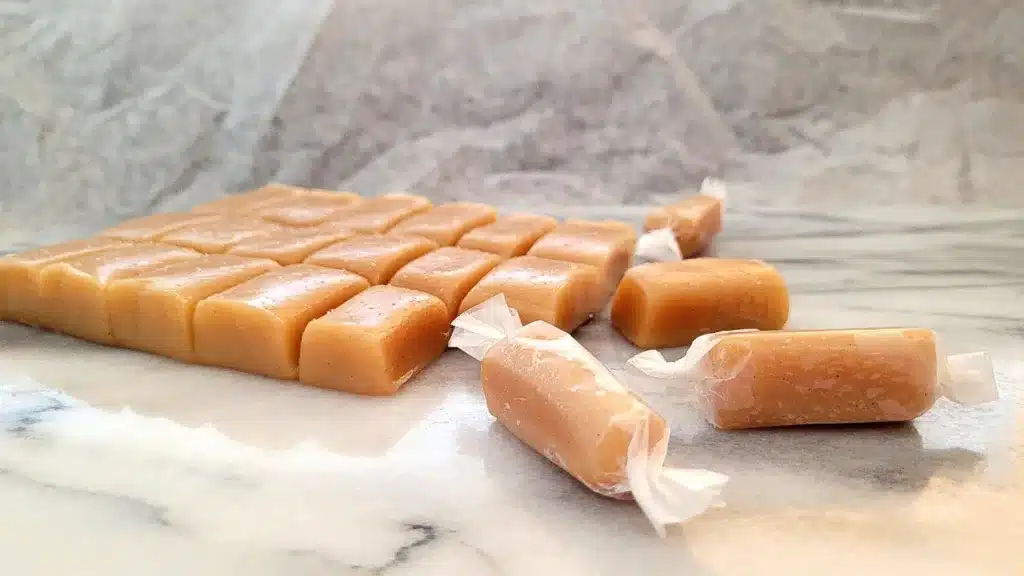
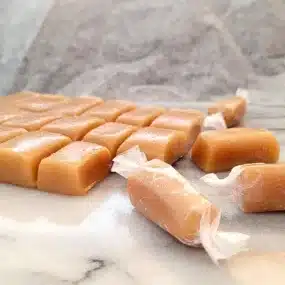
This simple homemade caramels recipe produces chewy, buttery candies. Sea salt and vanilla bean add taste to this much-loved candy recipe. Often synonymous with the holidays - these little goodies made a great addition to your holiday cookie baskets.
This post may contain affiliate links. Please refer to the terms page for more information.
Equipment
Before embarking on this caramels recipe I recommend gathering all of your equipment. You don't want to be searching for anything when the caramel begins to reach its final temperature. You will need the following equipment:
- Heavy-bottomed medium-sized saucepan
- Candy thermometer: use a high-quality thermometer with a pot clip
- Heat-proof spatula
- Wax paper: for wrapping the candies
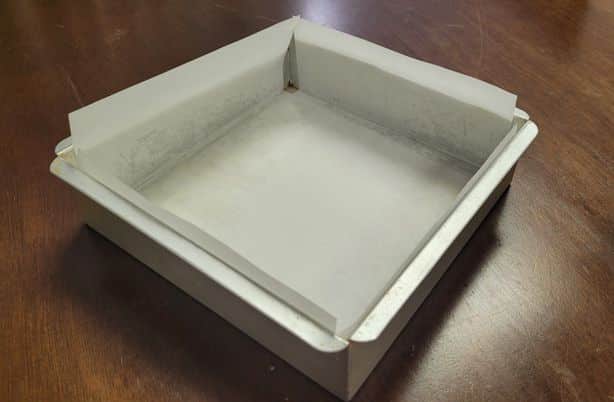
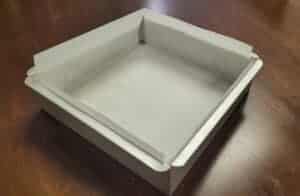
- 8" x 8" square cake pan: this will be used to cool and set the caramels.
- Parchment paper: for lining your cake pan. This will make removal of the caramel a breeze! Cut the parchment to fit into the pan with enough paper overhanging to easily pull out the caramels.
Ingredients
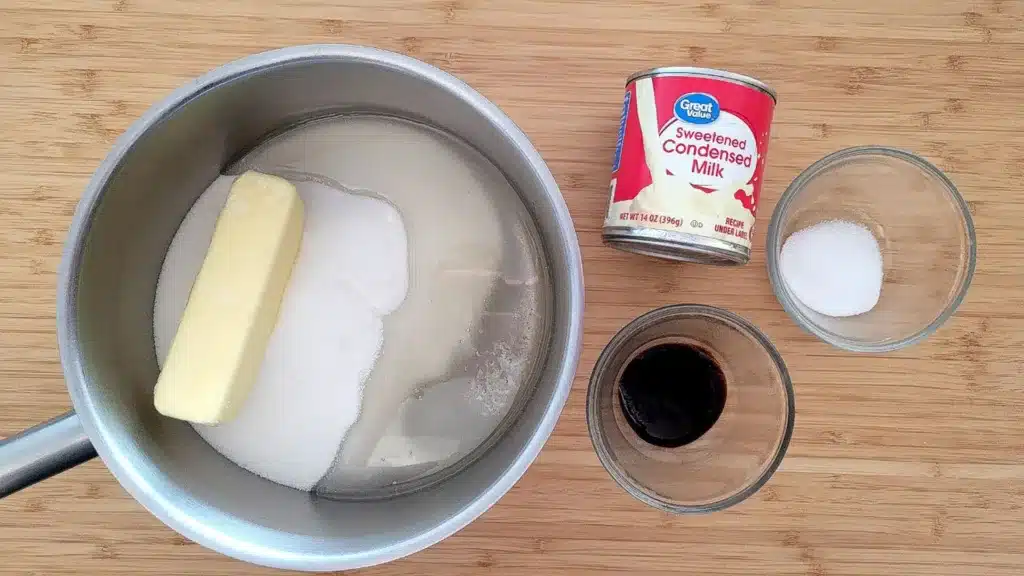
You don't need many ingredients to make these yummy caramel treats:
- Granulated sugar
- Unsalted butter
- Light corn syrup
- Sweetened condensed milk
- Flaky sea salt (optional)
- Vanilla bean paste (optional)
Caramel Making Process
Please use the utmost caution when making this caramel candies recipe. The hot syrup can cause severe burns if it comes in contact with your skin.
Place the granulated sugar, butter and corn syrup in a heavy-bottomed sauce pan. Begin heating over medium heat stirring occasionally until the mixture begins to boil. Once it begins boiling, slowly begin pouring the sweetened condensed milk into the pot, stirring slowly and constantly. Take your time adding the condensed milk - approximately 2 minutes.
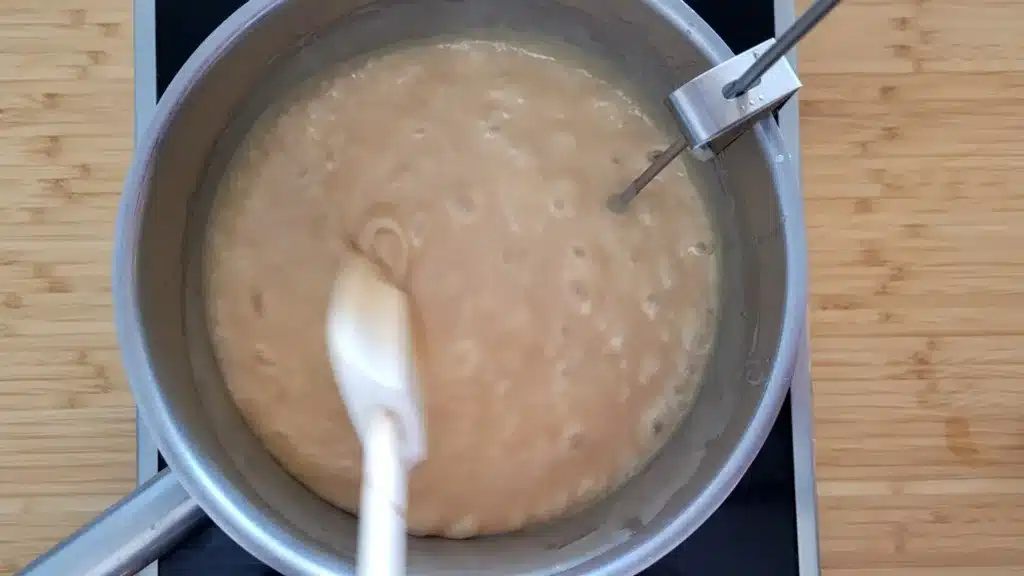
Place a candy thermometer in the mixture and continue to stir slowly until it reaches 238° F. Remove the pan from the heat and stir in the vanilla bean paste (if using). Pour the caramel into the prepared pan and allow to cool for 2 - 3 hours. The caramel is ready to remove from the pan and cut once it has fully set. If I am in a hurry I will let the caramel cool for about half an hour on the countertop then place in the fridge to finish setting.
FAQs
Cut sheets of wax paper to 5" x 3.5" or purchase premade candy wrappers. Place a caramel on the short edge of the wrapper and roll the candy. Next, twist the ends to seal the caramel.
This homemade caramels recipe may be easily modified to add other flavors. For bourbon caramels, whisk in two tablespoons of bourbon to the caramel just before pouring into the pan to cool. For almond caramels, stir in ½ cup of toasted and slivered almonds to the caramel prior to pouring it into the pan.
📋 Recipe
Chewy Homemade Caramels Recipe – Buttery Vanilla Bean Candy with Sea Salt
Equipment
- Parchment paper
- Wax Paper for wrapping caramels
Ingredients
- 2 Cups Granulated Sugar
- ½ Cup Unsalted Butter
- 1 Cup Light Corn Syrup
- 1 Can Sweetened condensed milk 14 ounce can
- 2 teaspoon Vanilla Bean Paste or vanilla extract
- 1 teaspoon Sea Salt Optional
Instructions
- Be very careful when making this recipe—hot caramel can cause serious burns if it touches your skin.
Prepare Pan
- Spray the pan with oil or coat with softened butter. Cut the parchment to fit into the pan with enough of the paper overhanging to easily pull out the caramels.
Made the Caramel
- Combine granulated sugar, butter and corn syrup in a heavy-bottomed saucepan.2 Cups Granulated Sugar, ½ Cup Unsalted Butter, 1 Cup Light Corn Syrup
- Begin heating over medium heat stirring occasionally until the mixture begins to boil.
- If needed, wipe the inside of the pan with a clean brush dipped in cold water to remove any sugar crystals.
- Once it begins boiling, slowly begin pouring the sweetened condensed milk into the pot, stirring slowly and constantly. Take your time adding the condensed milk - approximately 2 minutes- as it needs to be incorporated into the other ingredients slowly.1 Can Sweetened condensed milk
- Place a candy thermometer in the mixture and continue to stir slowly until it reaches 238℉ (114℃). Note: don't let the caramel boil on its own - you must keep stirring in order to avoid burnt pieces on the bottom. Also, resist the urge to turn the heat to high!
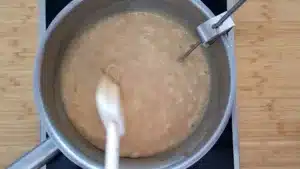
- Remove pan from the heat and stir in the vanilla bean paste.2 teaspoon Vanilla Bean Paste
Cool and Cut Caramel
- Pour the caramel into the prepared pan. Optional: sprinkle with sea salt1 teaspoon Sea Salt
- Allow to cool for 2 - 3 hours.
- Carefully lift the caramel out of the pan by pulling up on the edges of the parchment paper. Cut into pieces of your desired size.


Nicole says
Thank you for sharing, this was my first time making caramel and it was a really easy recipe. I'm just patiently waiting for it to cool so I can try it 🙂
The only question I had, is I did seem to stir the bottom of the pot and got a bit of burnt caramel throughout the mixture, so I wanted your advice on how I should avoid this for next time? Do I need to constantly stir, or let it boil on its own? Thank you for your help.
dessertswithstephanie says
Hi Nicole, Thank you for stopping by. Yes, if you don't stir constantly it may develop bits of burnt pieces. I will update the recipe to ensure this is clearer. Best regards, Stephanie
Marsha Mercier says
Love this recipe! It’s easy and turns out perfect every time! I gift them and everyone raves about them!!
dessertswithstephanie says
Hi Marsha, Thank you for the feedback! So pleased you and your gang enjoy the caramels.
Maria Azanha says
I was pleasantly surprised by how simple it is to create caramel! The recipe yielded a smooth and pliable texture, perfect for cutting and crafting small treats to include in my cookie gift baskets.
Kitty P. says
I didn't realize making caramel was this easy! The recipe turned out creamy and soft enough to cut and make into little gifts for my cookie baskets.
Alaina says
These homemade caramels are delicious ?. I added chopped up peanuts and drizzled with chocolate ? ?
dessertswithstephanie says
Aliana, Thank you for letting me know. The addition of peanuts and chocolate to the caramels sound amazing - I will have to try this.
Michelle says
I love the idea of bourbon caramels. I cannot wait to try this recipe.