Divinity Recipe with Cherries and Pistachios - A Holiday Tradition
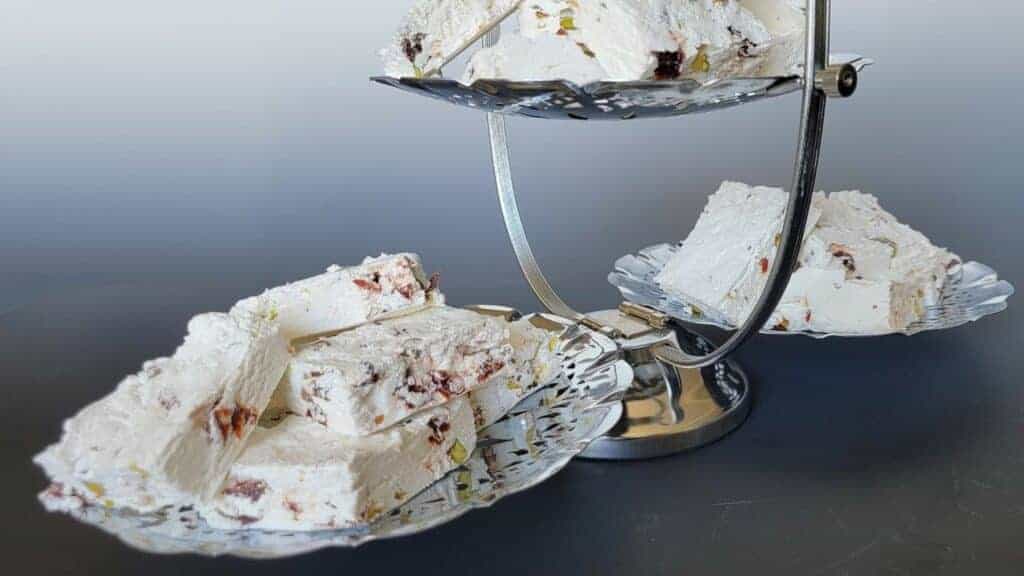
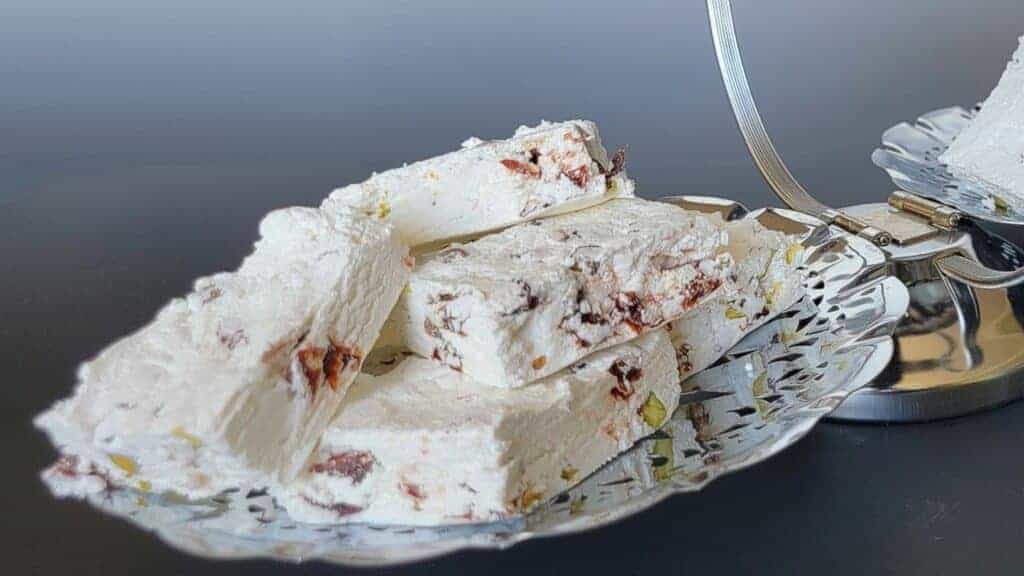
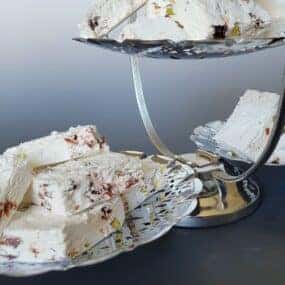
These delicious confections are wonderful for gift-giving or adding to a holiday platter of cookies and candies. This Cherry and Pistachio Divinity recipe produces an old-fashioned candy many of us find synonymous with the holidays. The dried cherries and pistachios add festive colors for dressing up the treat.
This post may contain affiliate links. Please refer to the terms page for more information.
This Divinity recipe is made with just a few ingredients: granulated sugar, corn syrup, water, egg whites, a pinch of salt, dried cherries and pistachios. The sugar, corn syrup and water are boiled together until the mixture reaches the 'hard ball' stage. Then the sugar syrup is slowly poured over stiffly-beaten egg whites in a steady stream. If you are new to Divinity candies, check out a write up which includes a bit of history for the confection on Priester's Pecans website.
Preparing to Make the Recipe - for a No-Fail Divinity:
I am of the mindset to always prepare my ingredients, pans and utensils before I start a recipe. This is particularly true when working with hot sugar. I suggest you do this as the process will move quickly once the sugar syrup reaches the proper temperature.
Line a 10″ x 10″ pan with parchment paper extending over the edges so the divinity may easily be removed after it cools. Alternatively use a quarter-sheet pan and line with a heat-resistant silicone mat or parchment paper. Lightly spray with cooking oil
Whipping the Egg Whites for the Divinity Candy Recipe:
- Bring the egg whites to room temperature before beginning to mix as they will whip up more quickly. The addition of salt will help in aerating the whites.
- Whip the egg whites until they reach stiff, glossy peaks. Take care to not overwhip as this may cause the whites to become crumbly and make adding the rest of the ingredients difficult.
- If you are new to candy making with egg whites, I recommend whipping the egg whites before starting on the sugar mixture. This way you are not watching two processes at the same time. Just leave the whites in the mixing bowl so they are ready when the sugar syrup reaches the proper temperature.
How to Make the Sugar Syrup:
- Place sugar, corn syrup and water in a 3-quart saucepan. Stir to combine.
- Begin heating over medium heat stirring occasionally. Stop stirring when mixture begins to boil.
- Insert a candy thermometer into the pan making sure the thermometer does not touch the bottom of the pan. Don't leave the pan unattended for too long - the thermometer has a tendency to go haywire when you walk away!
- Continue heating until the temperature reaches 260° F (125° C). Again, you should not be stirring the mixture -I know, it is hard to not do anything at this stage in the recipe!
Adding the Sugar Syrup to the Whipped Egg Whites:
- Turn on mixer to medium-low (the whipped egg whites should still be in the bowl). Carefully begin pouring the hot sugar mixture down the side of the mixing bowl while the mixer is running. Pour in a slow, steady stream (over approximately a one minute time frame). Use extreme caution while doing this - the syrup is hot enough to cause severe burns.
- After the sugar syrup is added to the mixing bowl, turn up the speed to medium-high and continue to whip. The mixture will begin to loose it's glossiness - continue to mix for 5 minutes or until the bowl is just slightly warm to the touch. You don't want it completely cooled as the candy will begin to harden.
- Working quickly, fold in the pistachios and dried cherries.
- Pour the mixture into your prepared pan. Press the divinity evenly into the pan using your hands or an offset spatula sprayed with vegetable oil. Alternatively, if you wish to scoop out individual mounds of the divinity, spray two dinner spoons with vegetable oil and use one spoon to scrape the divinity off the other spoon. Place the mounds onto parchment or a silicon baking sheet.
- Allow to rest for 1 hour before unmolding and cutting into desired pieces.
- Divinity should be stored in an airtight container for up to 5 days.
How to Store the Cherry and Pistachio Divinity:
This Divinity Candy recipe is full of sugar so it needs to be kept away from humidity else it will soften. The candies should be stored in an airtight container at room temperature for up to 2 weeks. You can also freeze them in airtight container for up to 3 months. Please remember, if these divinity cookies are exposed to humidity they will become mushy!
📋 Recipe
Cherry and Pistachio Divinity Recipe
Equipment
- 1 Heavy Duty Saucepan
- Bowls, measuring cups and spoons
- 1 10x10 Square Pan with a 2" deep rim
- 1 Parchment paper
Ingredients
- 4 Cups Granulated Sugar
- ¾ Cup Light Corn Syrup
- ⅔ Cup Water
- 3 Large Egg Whites
- ½ teaspoon Sea Salt
- 1 Cup Dried Cherries, chopped finely
- 1 Cup Shelled Pistachios
Instructions
- Line a 10" x 10" pan with parchment paper extending over edges of pan. This allows for easy removal of the candy after it cools. Alternatively use a quarter-sheet pan and line with a heat-resistant silicone mat or parchment paper. Lightly spray with cooking oil.
- Place the egg whites and salt into the bowl of a stand mixer fitted with the whisk attachment. Whip on medium-high speed until the egg whites form stiff, glossy peaks. Once they’re ready, turn off the mixer but leave the bowl in place.3 Large Egg Whites , ½ teaspoon Sea Salt
- Place sugar, corn syrup and water in a 3-quart saucepan. Stir to combine.4 Cups Granulated Sugar, ¾ Cup Light Corn Syrup, ⅔ Cup Water
- Begin heating over medium heat stirring occasionally. Stop stirring when mixture begins to boil.
- Insert a candy thermometer into the pan making sure the thermometer does not touch bottom of the pan.
- Continue heating until the temperature reaches 260℉ (125℃).
- With the whipped egg whites still in the bowl, turn the mixer to medium-low speed. Slowly and carefully pour the hot sugar mixture down the side of the bowl in a steady stream. This should take about one minute.
- After the sugar syrup is added to the mixing bowl, turn up the speed to medium-high and continue to whip. The mixture will begin to loose it's glossiness - continue to mix for 5 minutes or until bowl is just slightly warm to the touch.
- Working quickly, fold in the pistachios and dried cherries.1 Cup Dried Cherries, chopped finely, 1 Cup Shelled Pistachios
- Pour mixture into your prepared pan. Press the divinity evenly into the pan using your hands or an offset spatula sprayed with vegetable oil.
- Allow to rest for 1 hour before unmolding and cutting into desired pieces.
- Divinity should be stored in an airtight container for up to 5 days.


Andy T says
Awesome - this is the only time I made this and it turned out great. This is the second candy recipe I made of yours and the instructions must be right cuz mine candies are really good.
Catalina says
A treat with dry cherries! This will be for sure my new favorite treat!
JAZZIE says
Gosh! My granny used to make this candy also. These are on par with hers.