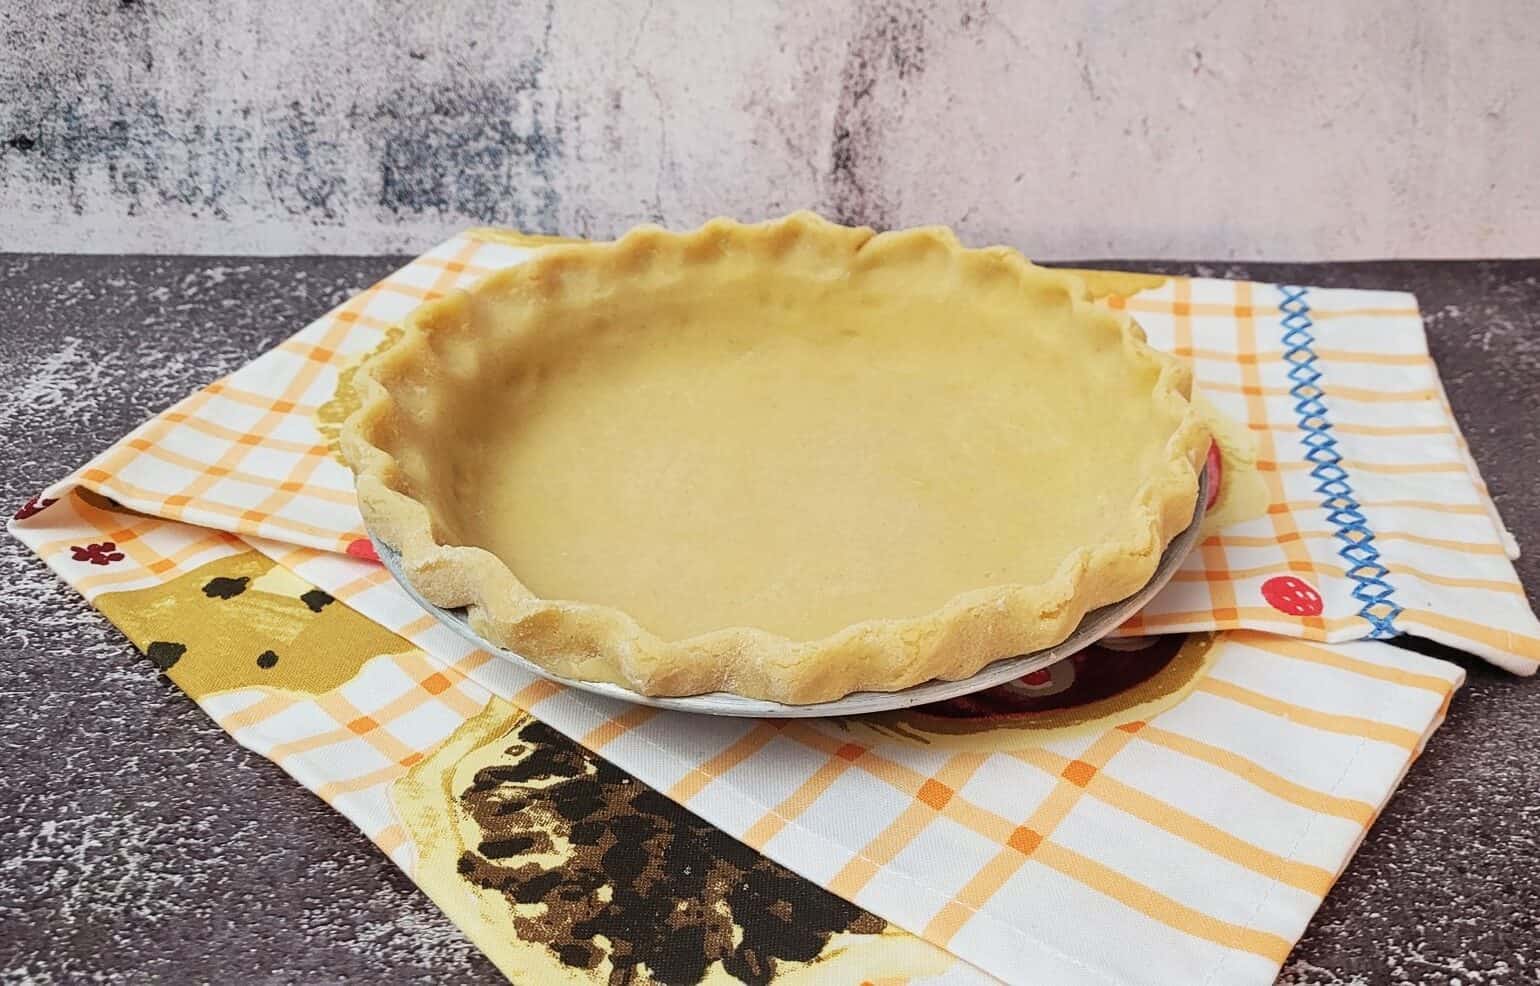
This easy gluten free pie dough recipe delivers a buttery, cookie-like crust that's perfect for a variety of pie fillings. It's a crowd-pleaser that will delight everyone, especially those following a gluten free diet.
This post may contain affiliate links. Please refer to the terms page for more information.
This buttery dough offers all the richness of a traditional pie crust, with a tender, melt-in-your-mouth texture. Made with gluten-free flour, eggs and plenty of butter, it rolls out smoothly and bakes to a golden perfection.
Jump to:
Ingredients
With just five simple ingredients, you can whip up this easy gluten free pie dough. Here's what you'll need:
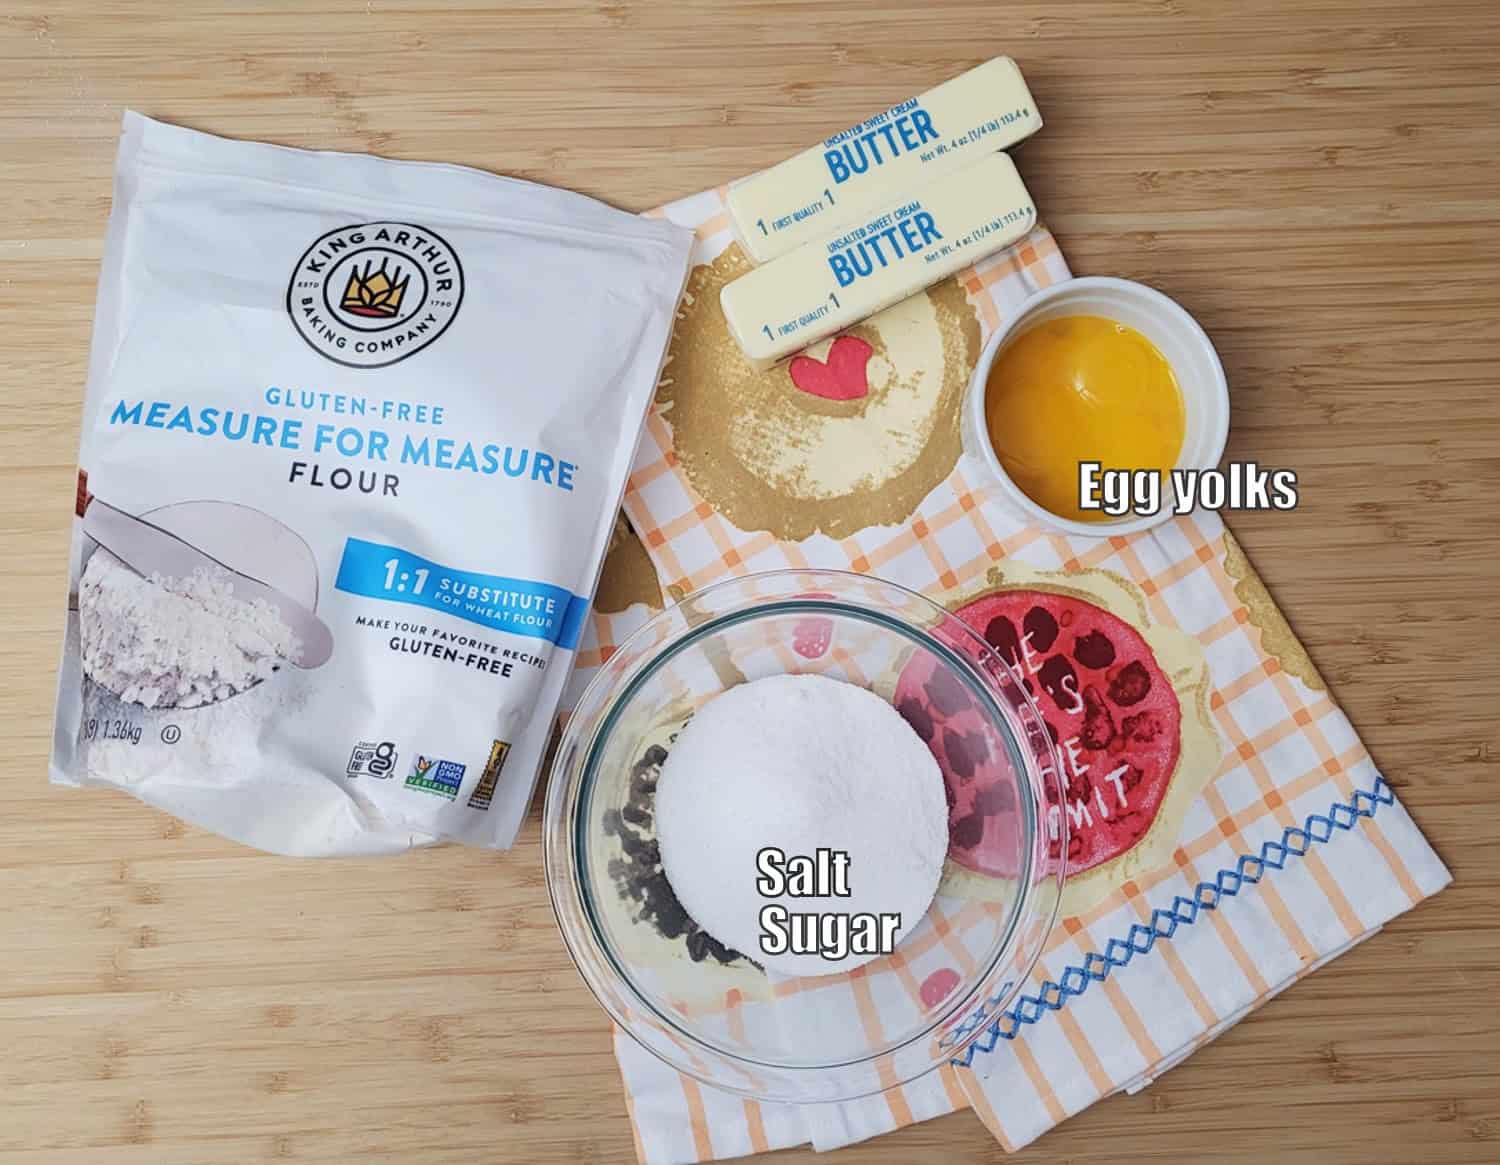
- Gluten free flour - use any reputable gluten-free brand. I most often use King Arthur's 1:1 substitute or Bob's Red Mill.
- Unsalted butter - bring butter to room temperature before starting this recipe
- Granulated sugar and salt
- Egg yolks - use large eggs (save those egg whites for an omelet, meringues, macarons, etc...)
See recipe card for quantities.
Gluten free pie dough instructions
A stand mixer fitted with the paddle attachment works best for making this recipe but a hand mixer may also be used.
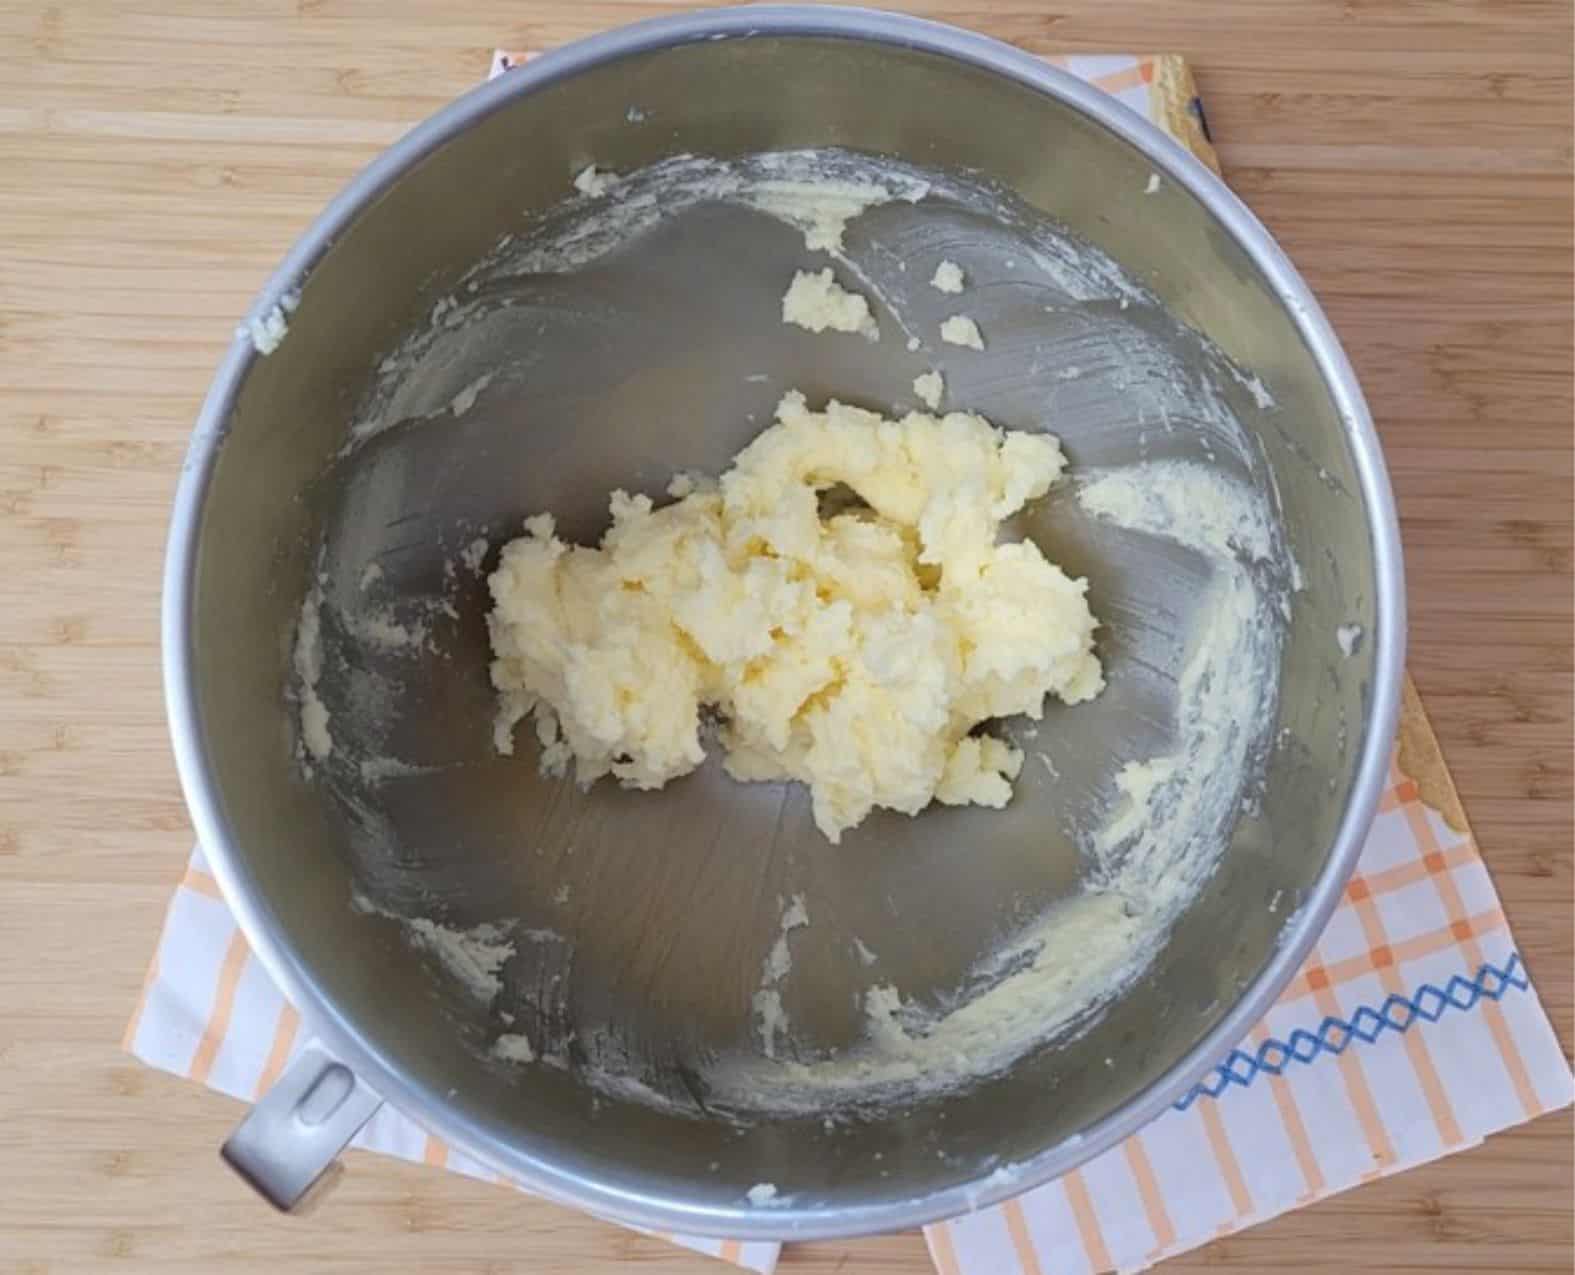
1 - Mix butter, sugar and salt together until light and fluffy (approximately 2 - 3 minutes). Scrape the sides of the bowl occasionally.
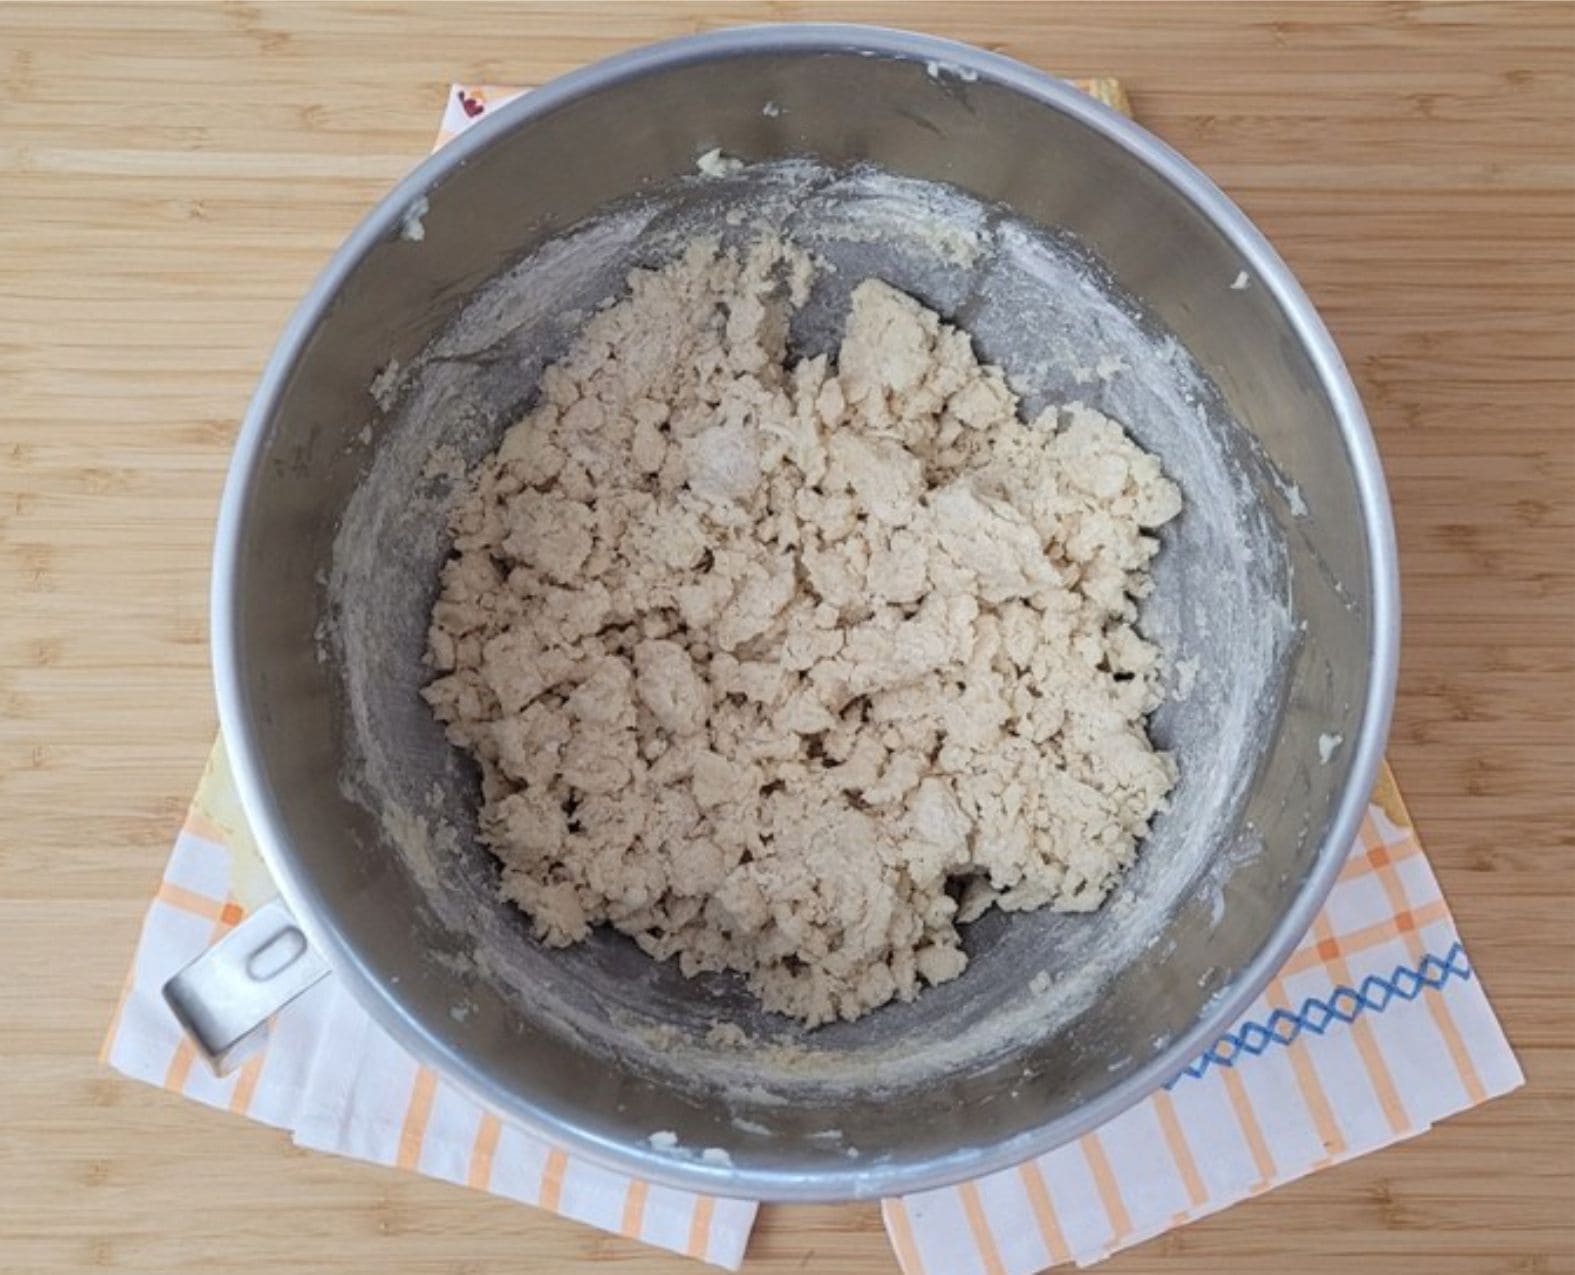
2 - Add gluten free flour and mix on low speed for 10 seconds. Scrape the side of the bowl and mix for an additional 10 seconds. The dough will look crumbly at this point.
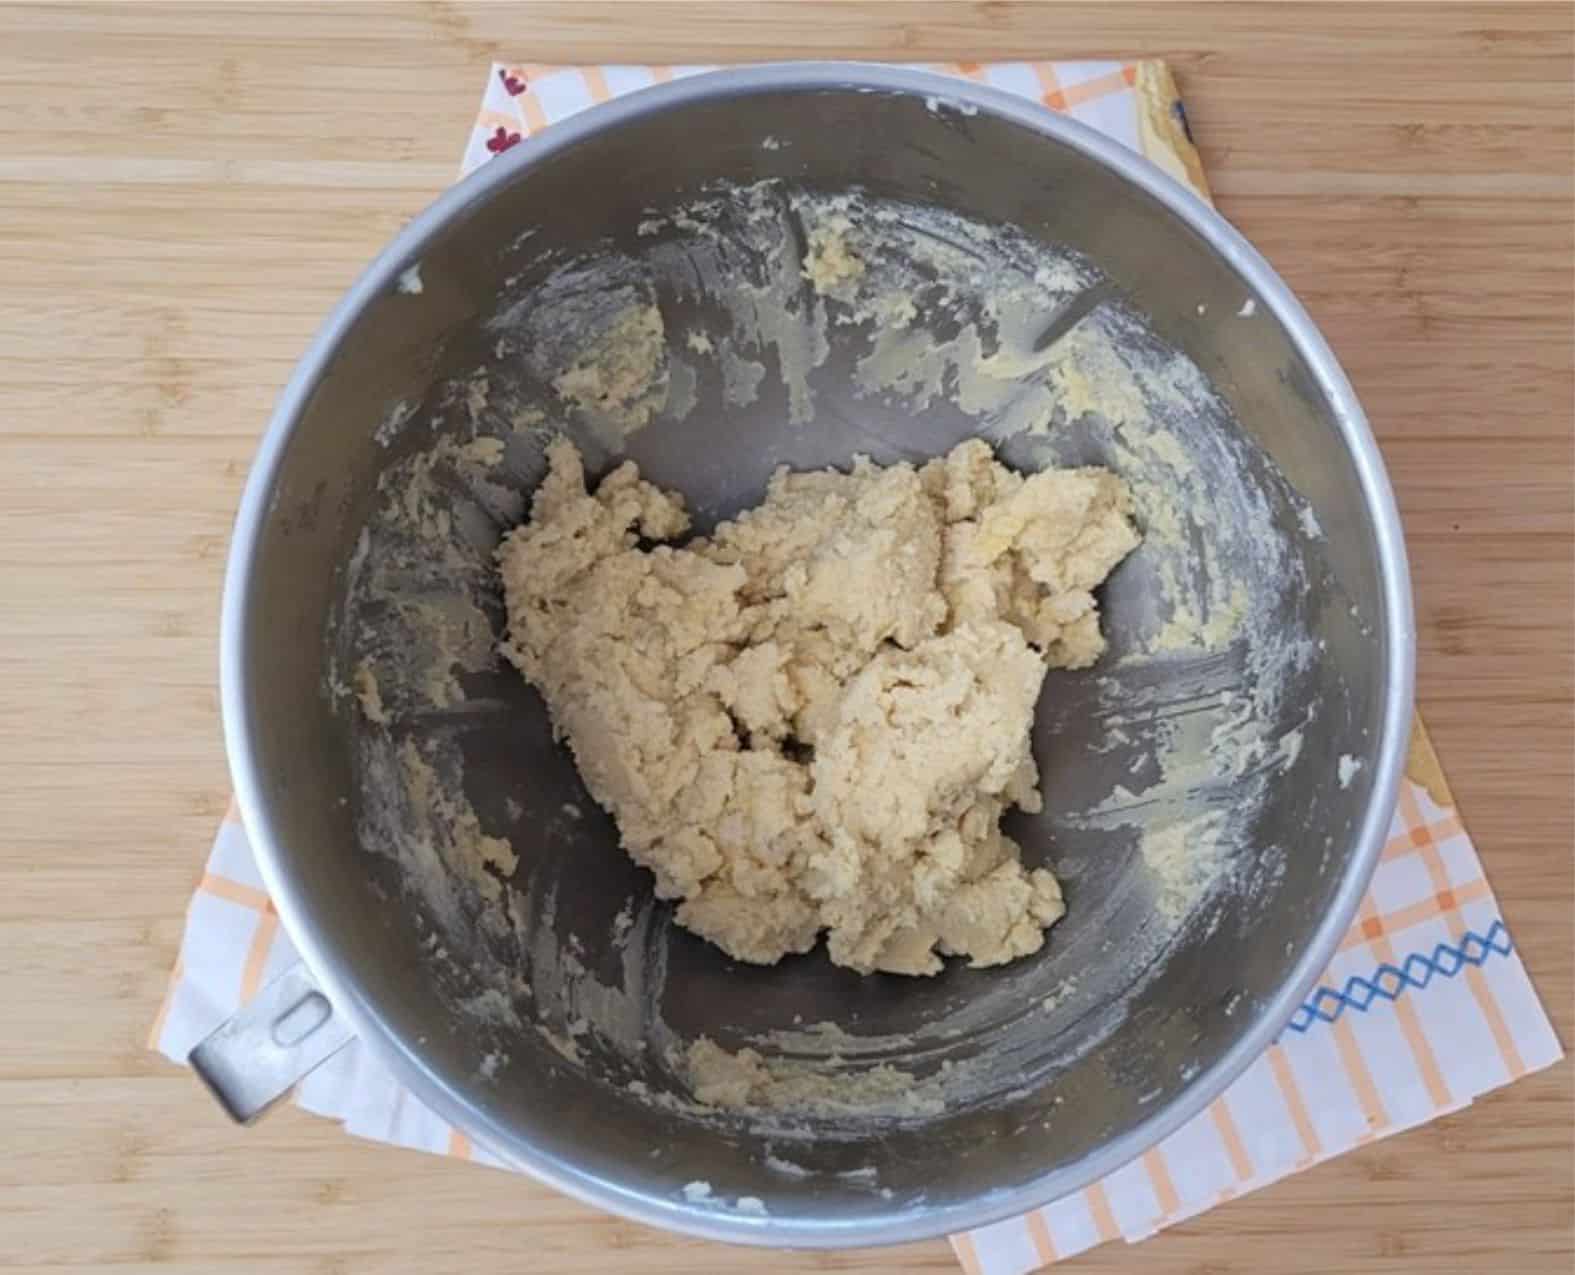
3 - Add egg yolks and mix on low speed for 10 seconds. Scrape sides of the bowl and mix for an additional 10 seconds. The dough should hold together when squeezed in your hand, if not, mix a few more seconds.
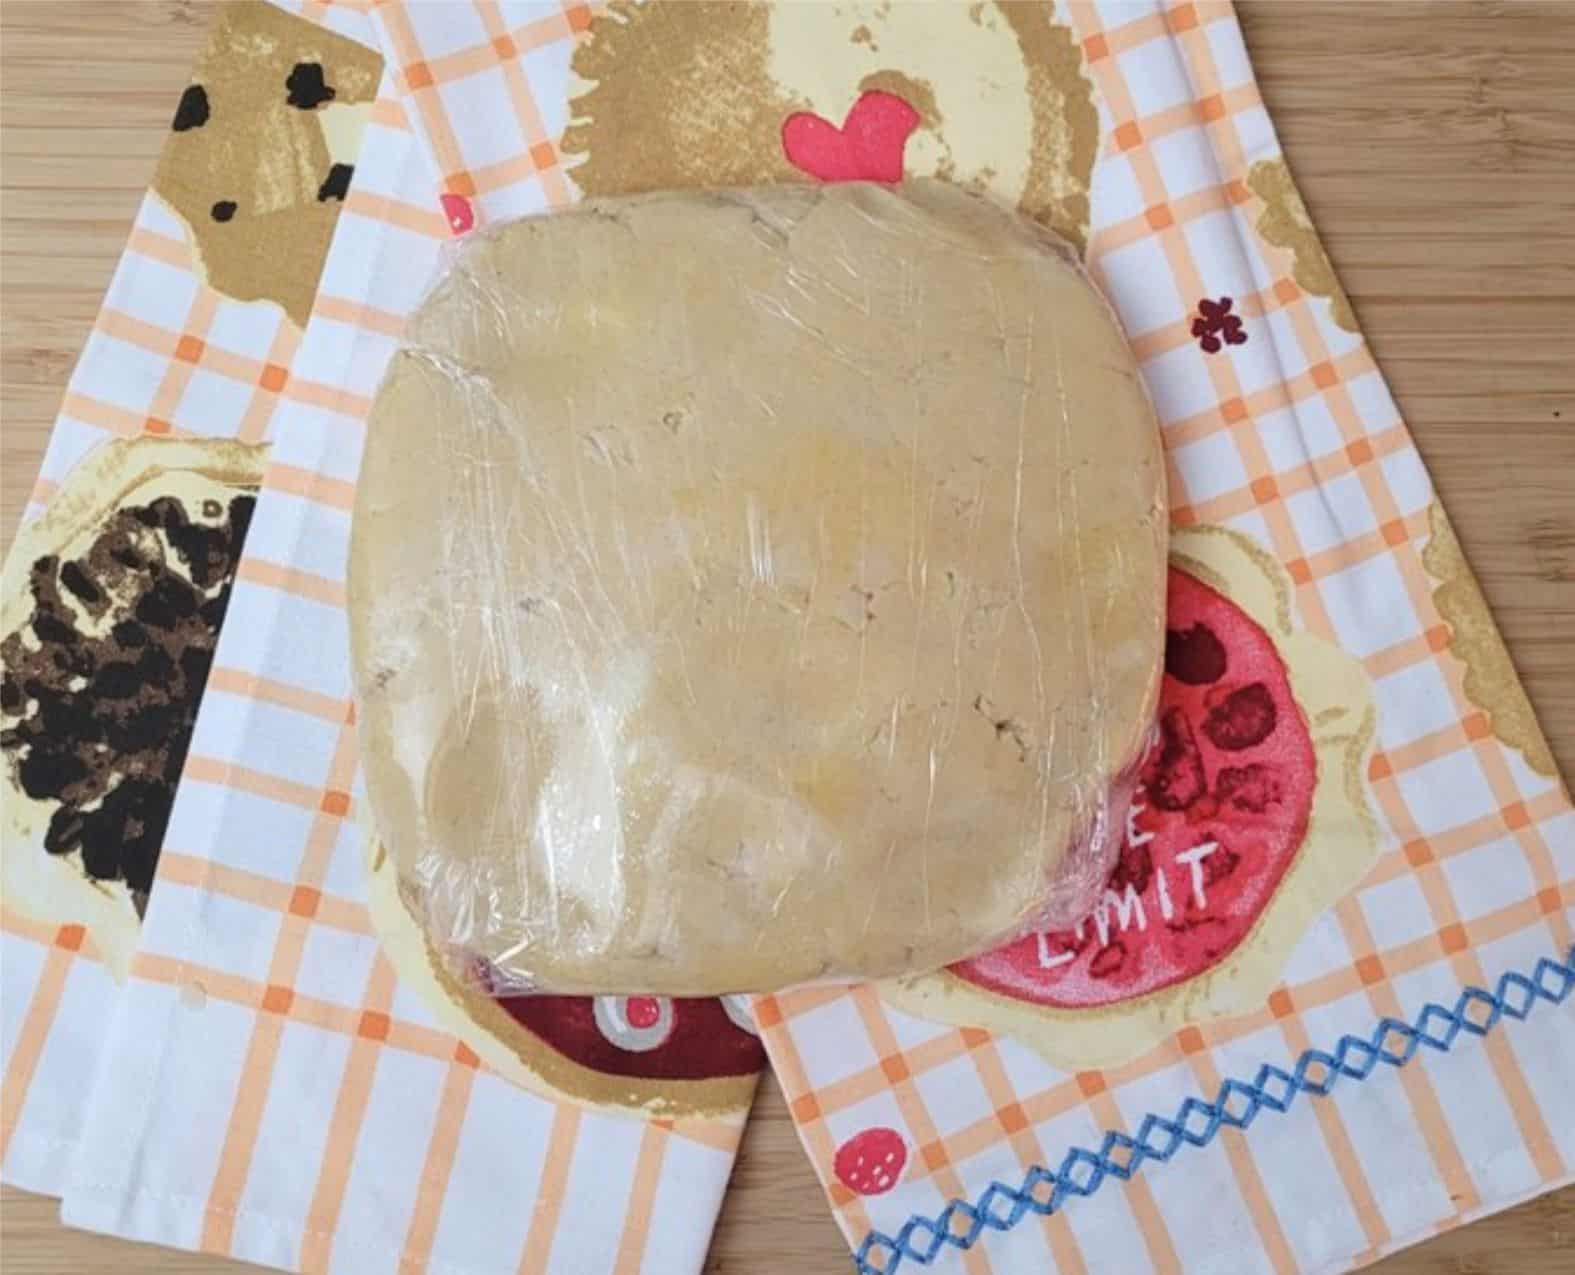
4 - Place the dough on plastic wrap. Gently knead if there are any dry pieces remaining. Wrap well and let rest in refrigerator for at least 20 minutes.
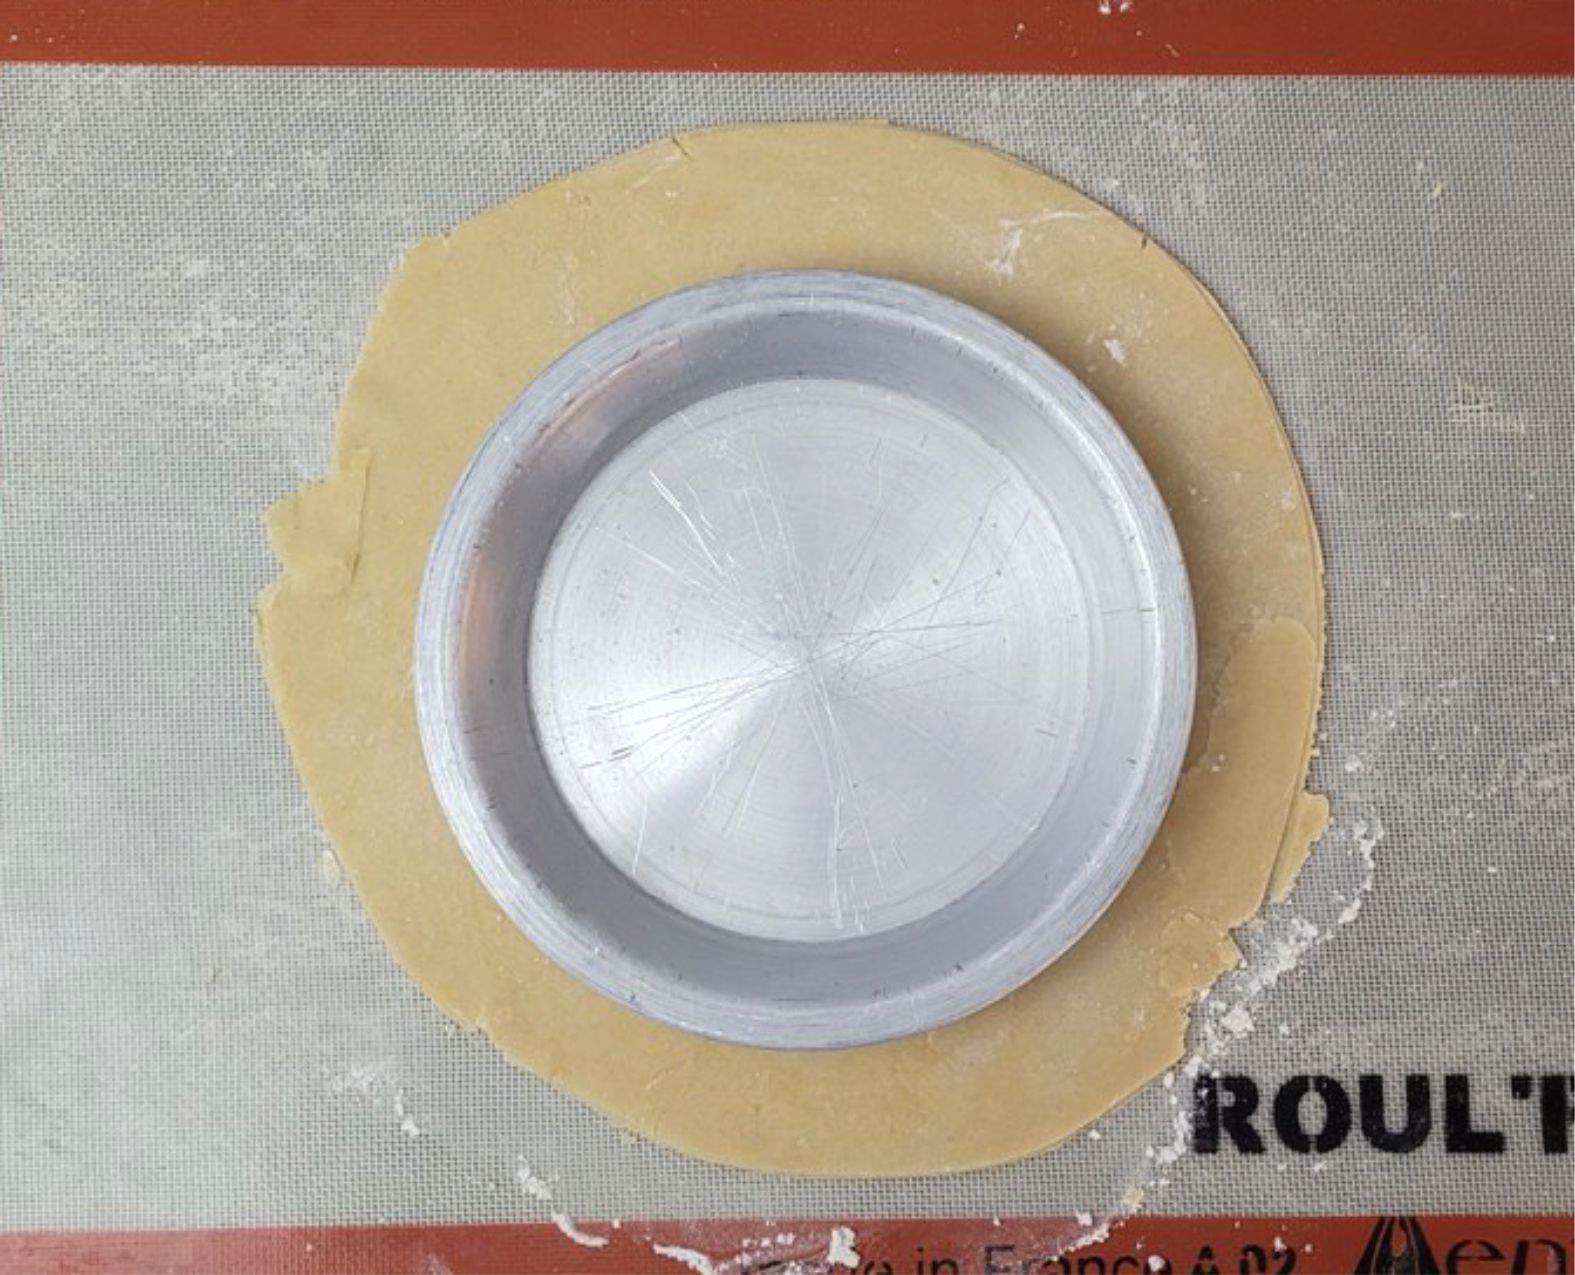
5 - Generously sprinkle gluten free flour on your work surface and rolling pin before rolling the dough. Form the dough into a disc and begin rolling from the middle of the dough outward, turning dough 90 degrees after each roll until your reach your desired thickness (I prefer ⅛ inch thickness for most pies)
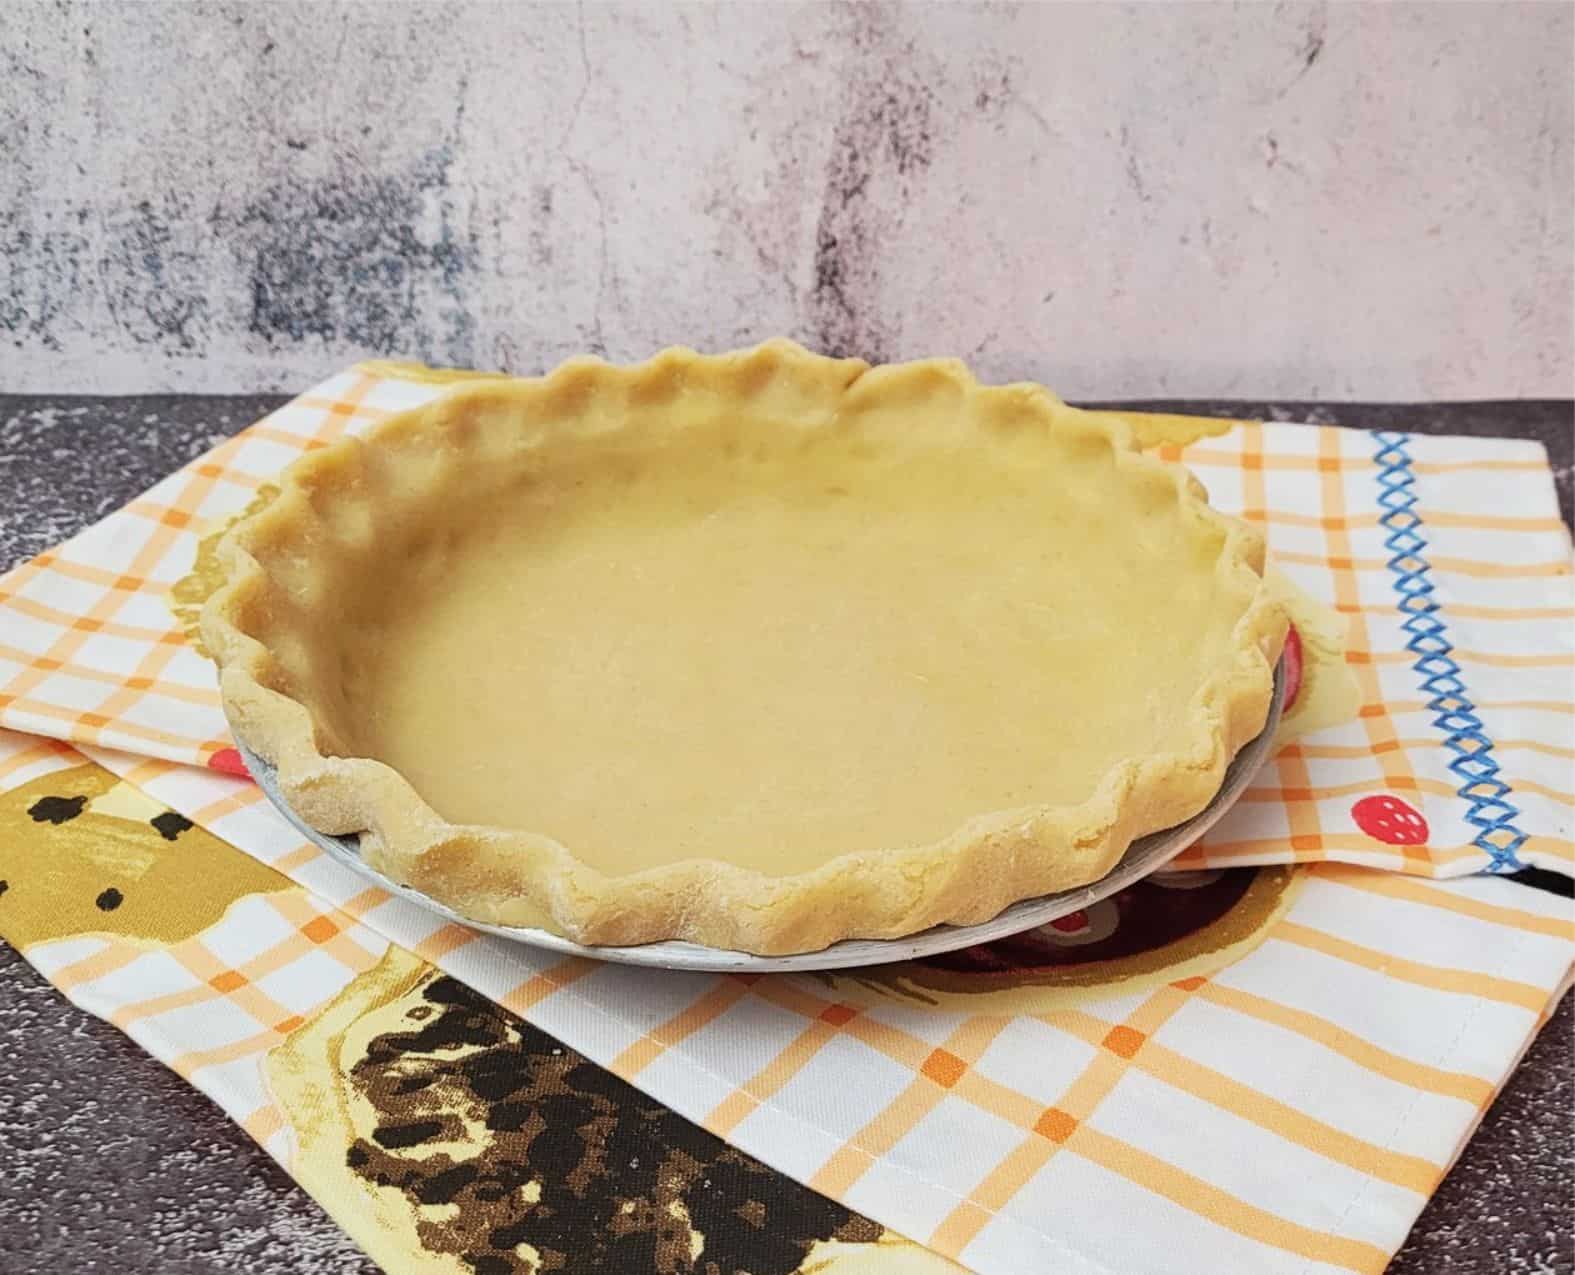
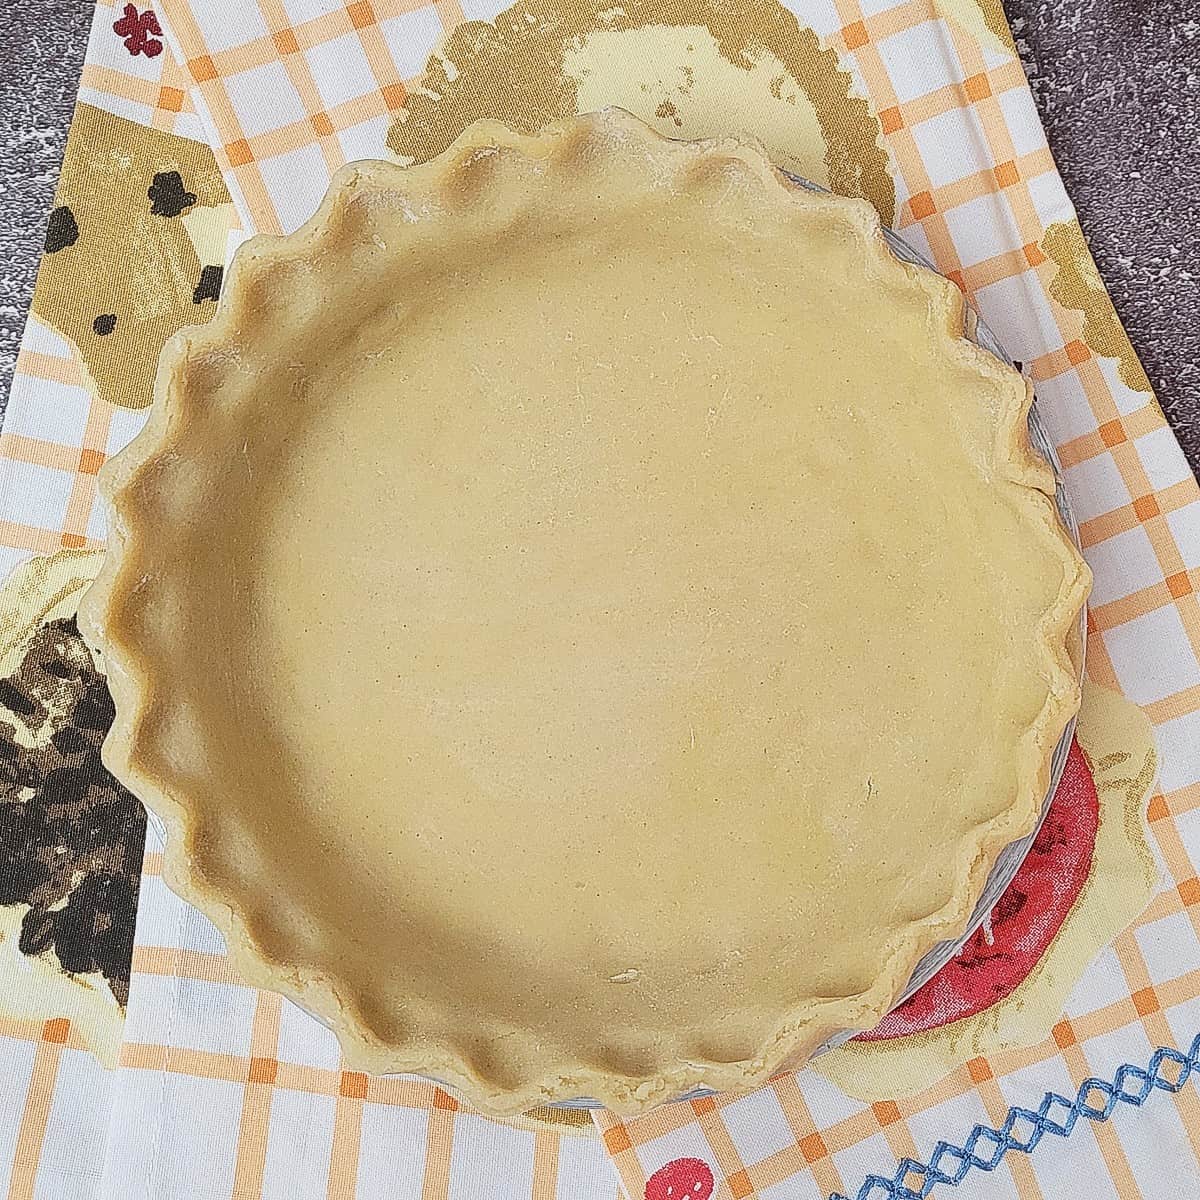
6 - To transfer the dough to the pie pan, gently drape it over your rolling pin and unroll it carefully into the pan. Add a decorative touch to the outer crust by fluting or crimping the edges.
Baking with this gluten free pie crust
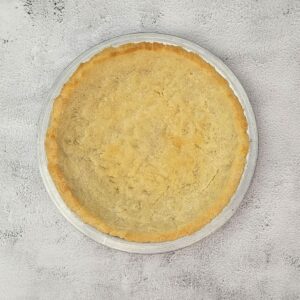
How you bake this gluten free pie crust depends on the type of filling you’re using. For no-bake or creamy custard fillings, you’ll need to fully bake the crust first so it’s firm and ready to hold the filling.
For pies with fillings that need to be baked, like fruit or savory quiches, the crust might need to be partially baked—this is called “blind baking”—to keep it from getting soggy. Be sure to check your recipe for specific instructions if you need to bake the crust before adding fillings.
Follow instructions below to partially bake or fully bake this pie dough:
- Using a dinner fork, poke holes in the dough. Sprinkle a dusting of gluten free flour on the dough (this will help prevent the foil from sticking to the raw dough).
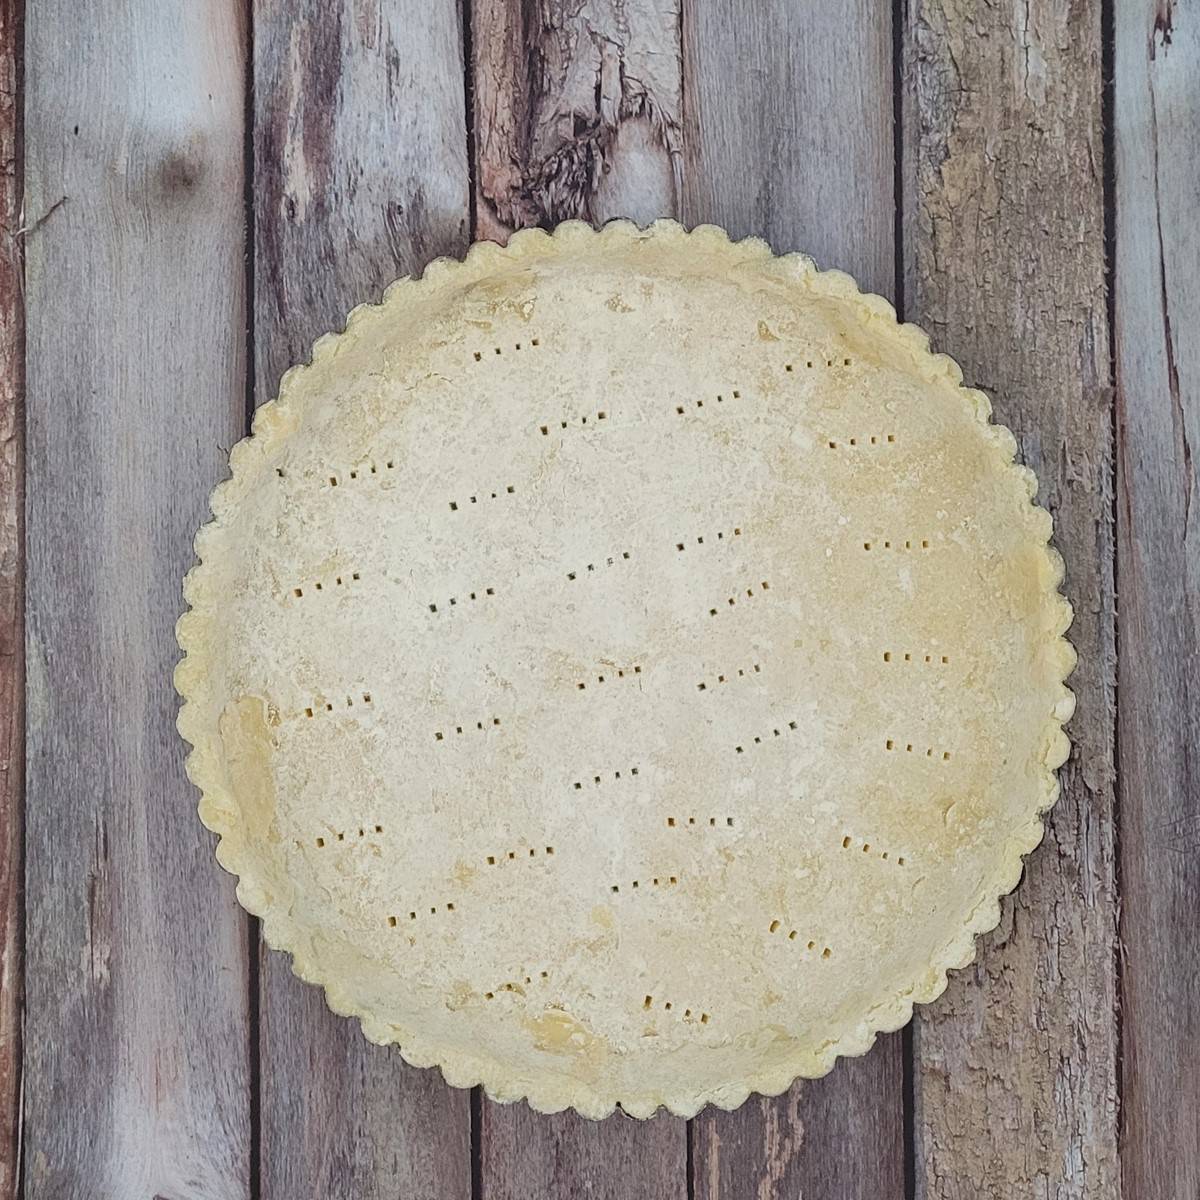
- Place a sheet of aluminum foil on top of dough. The foil should reach to the bottom of the pan and over the sides. Parchment paper may also be used for this process.
- Place pie weights (or dried beans or rice) on top of the foil. The weights should cover the bottom of the pan and halfway up the sides.
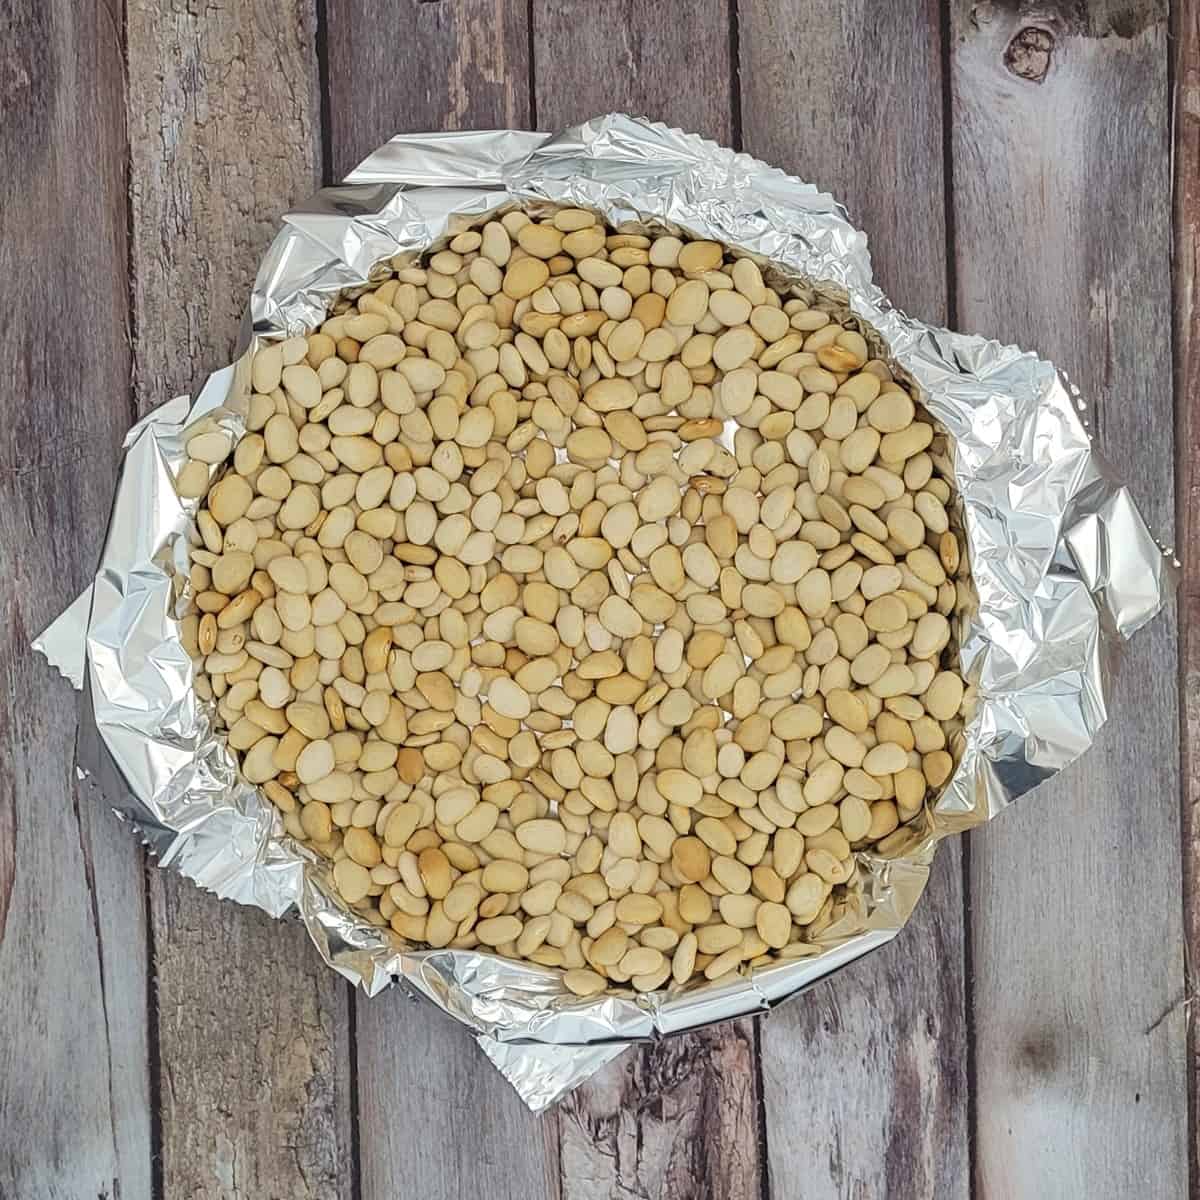
- Bake for 15 minutes at 350°. Remove from oven, lift foil and weights out of the pan. To fully bake the crust, bake for an additional 15 minutes. To partially bake the crust, bake for an additional 5 minutes.
Equipment
You need the following equipment to make this gluten free pie crust:
- Stand mixer - a stand mixer equipped with a paddle attachment is ideal for preparing this dough, as it ensures the best texture and consistency. A hand mixer can be used as an alternative.
- Measuring cups and spoons
- Rolling pin
- Plastic wrap
Storage
This gluten free pie dough will last up to a week in the refrigerator if wrapped in plastic wrap. Alternatively, wrap the dough and freeze for up to 2 months.
Top Tip
Remember to use gluten-free flour when rolling out your pie crusts. Using regular flour introduces gluten, which defeats the purpose of a gluten-free crust. This is especially crucial for individuals with celiac disease or gluten sensitivity.
FAQ
Yes, simply replace the gluten-free flour with an equal amount of all-purpose flour.
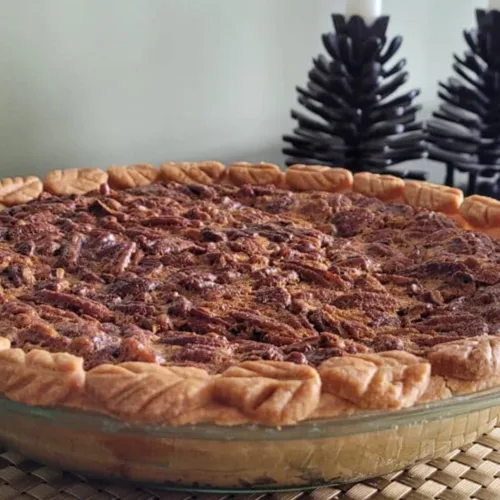
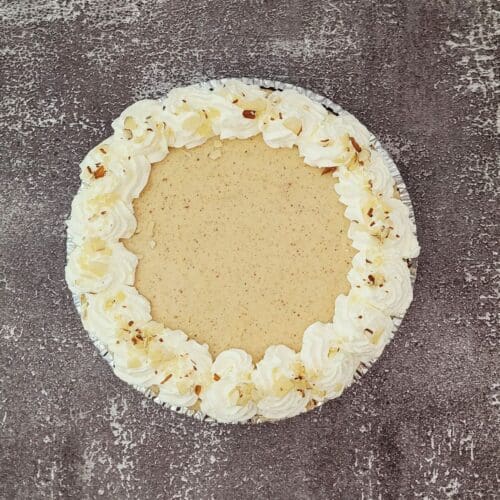
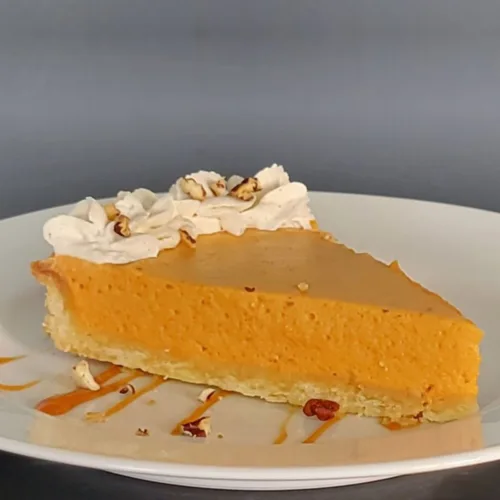
Pie fillings to use with this gluten free dough
Looking for other recipes like this? Try these:
📋 Recipe
Gluten Free Pie Dough Recipe
Equipment
- Bowls, measuring cups and spoons
- Plastic wrap
Ingredients
- ½ Cup Granulated Sugar
- 1 Cup Unsalted Butter Softened
- 1 teaspoon Salt
- 2 ¼ Cups Gluten Free Flour
- 2 Large Egg Yolks
Instructions
- Place sugar, butter and salt in the bowl of a stand mixer fitted with the paddle attachment.½ Cup Granulated Sugar, 1 Cup Unsalted Butter, 1 teaspoon Salt
- Mix on medium speed until butter is light and fluffy scraping sides of bowl as needed.
- Add gluten-free flour to mixing bowl. Mix on low speed for 10 seconds.2 ¼ Cups Gluten Free Flour
- Scrape down side of bowl.
- Mix an additional 10 seconds.
- Add egg yolks to the mixing bowl and mix on low speed for 10 seconds.2 Large Egg Yolks
- Scrape down side of bowl.
- Mix an additional 10 seconds.
- Remove dough from mixer and place on plastic wrap. Gently knead dough to work in any dry pieces. Wrap dough well with plastic wrap.
- Place in refrigerator for 20 minutes.
- Roll dough on generously floured surface.
Notes
- This dough will last up to a week in the refrigerator if wrapped in plastic wrap. Alternatively, wrap the dough and freeze for up to 2 months.
- The dough will be difficult to roll out if it is too cold. You will know this if the dough cracks while rolling out. If so, simply let the dough rest at room temperature until it has softened sufficiently.


Leave a Reply